Adding borders to text and images in slides can enhance your design and create visual layering, helping to highlight key points you want to emphasize.
Do you know how to add a border in Google Slides? If not, follow this article to learn how – you might discover some wonderful surprises along the way!
The Benefits of Adding Borders in Google Slides
· Different borders convey distinct non-verbal messages. Straight-edged borders create a sharp, professional, and serious tone, while rounded corners soften the visual impact, evoking warmth and playfulness.
· Enhance information hierarchy. Borders help organize slide elements, preventing clutter. Use them to separate titles from body text (establishing a clear hierarchy) or to define boundaries between images and text (avoiding visual overlap).
· Highlight key content. Draw attention to critical information by framing specific text or data. This ensures audiences immediately focus on and retain prioritized messages.
· Elevate visual polish. Consistently incorporating borders as a design element throughout your presentation boosts aesthetic cohesion and helps maintain brand consistency.
How to Add a Border in Google Slides
1. How to add a border to text in Google Slides
Step 1:Open Google Slides, select an existing slide, or import a new slide from an external source.
Step 2: Click to select the text box where you want to add a border.
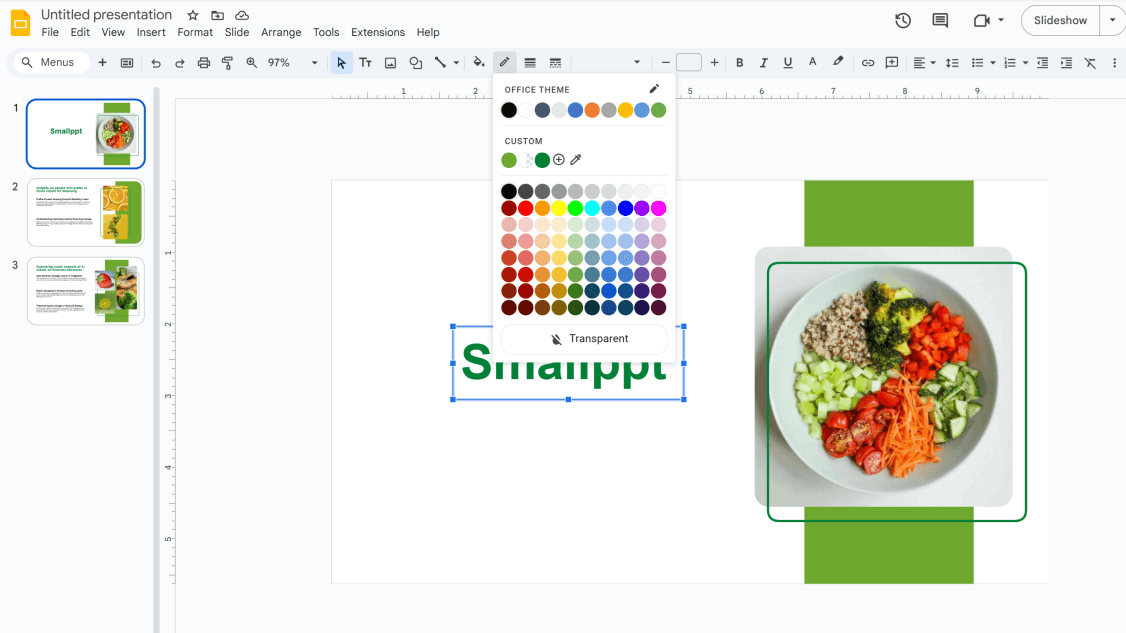
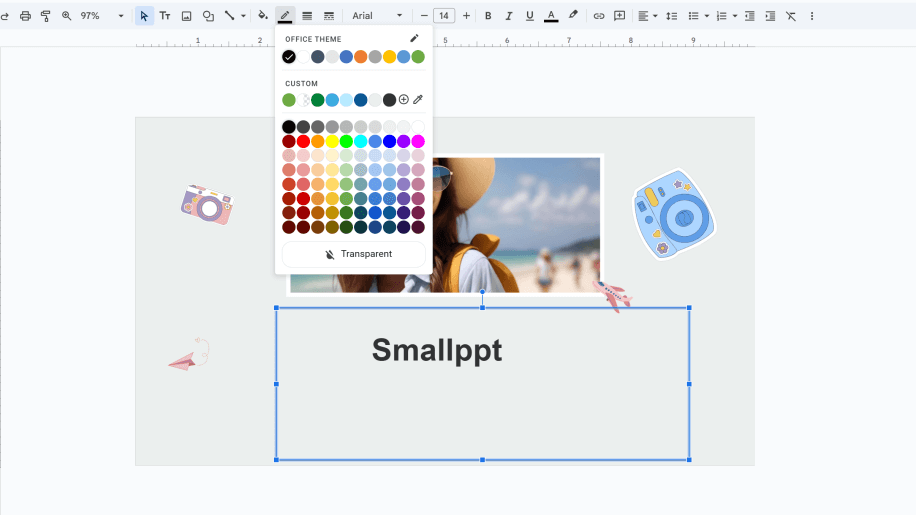
Step 3: Locate the Border Color option in the toolbar and choose your desired color.
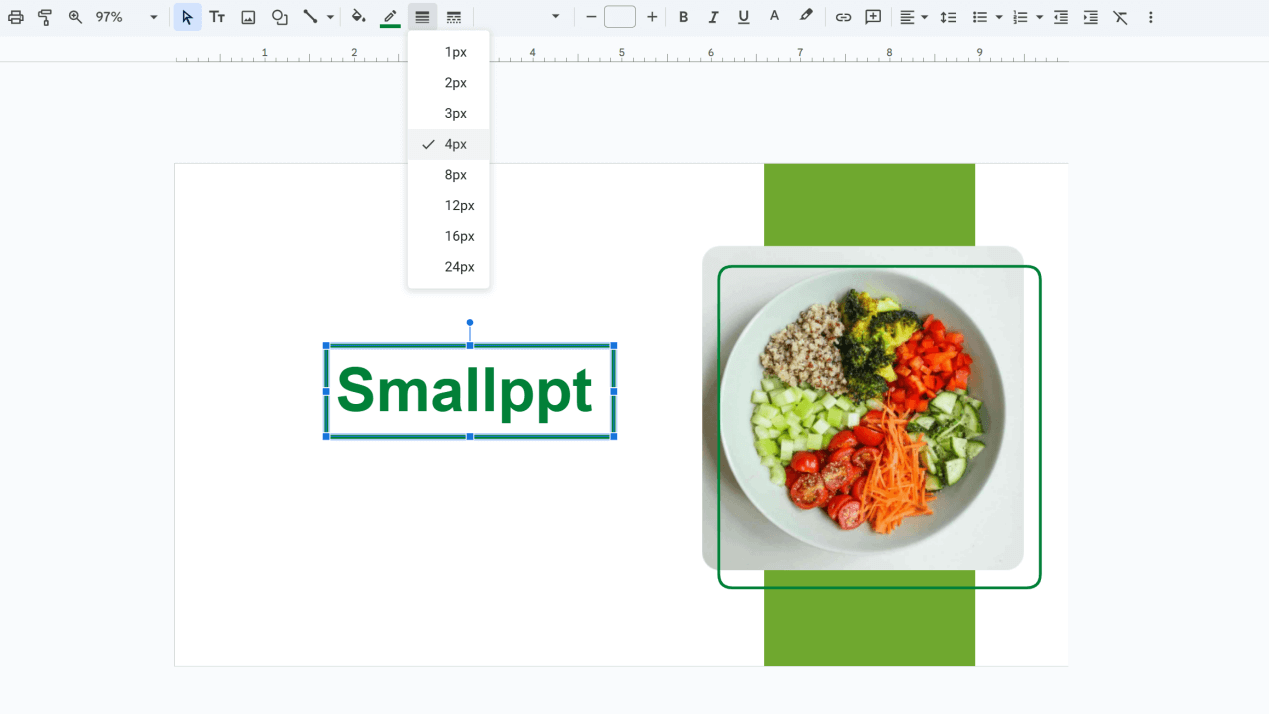
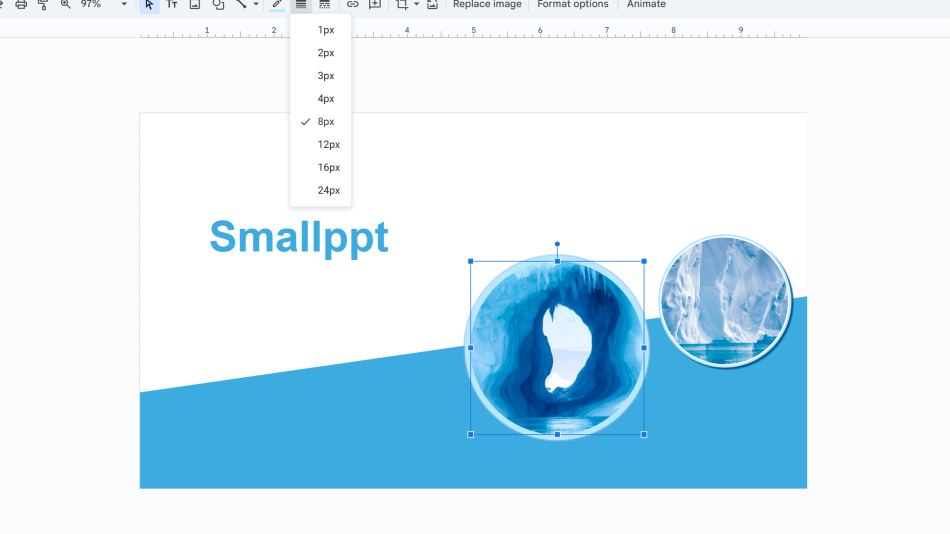
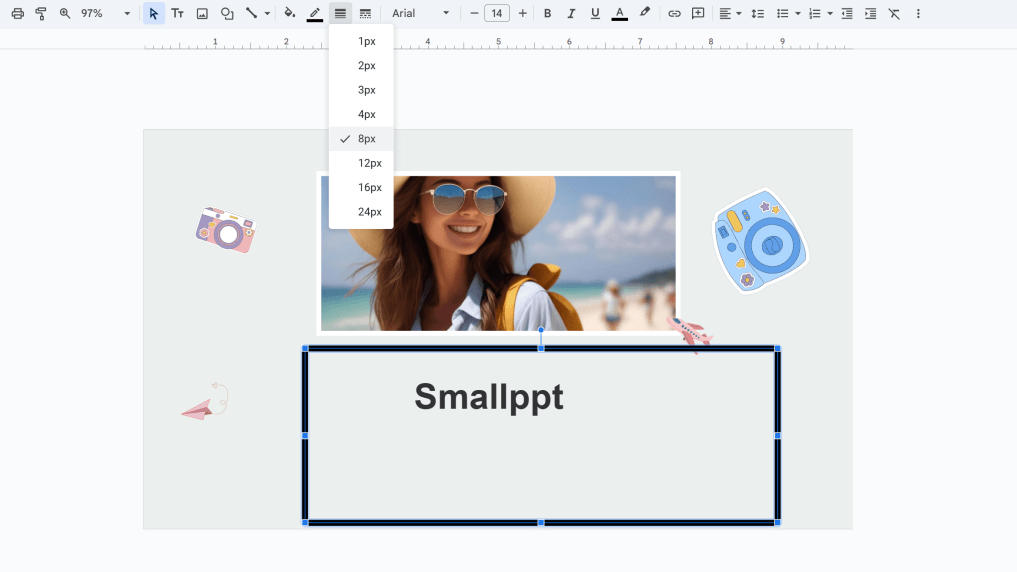
Step 4: Adjust the border thickness under Border Weight to make it stand out or blend with your design.
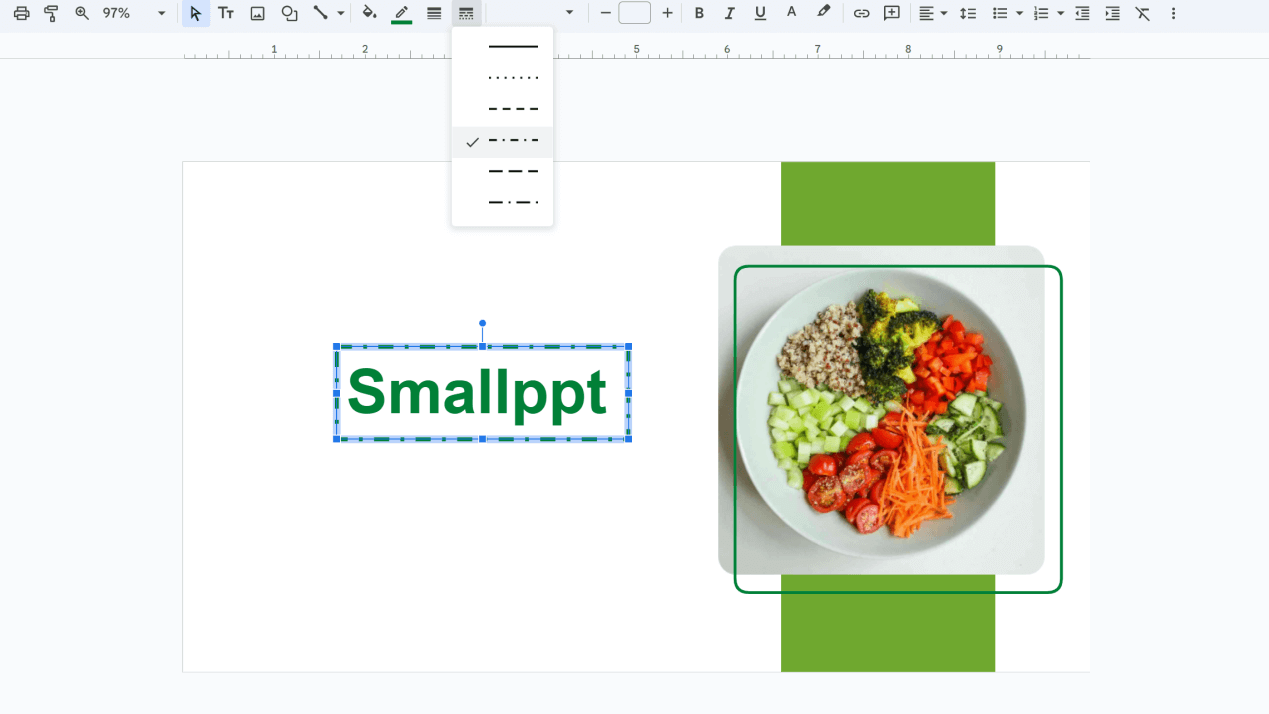
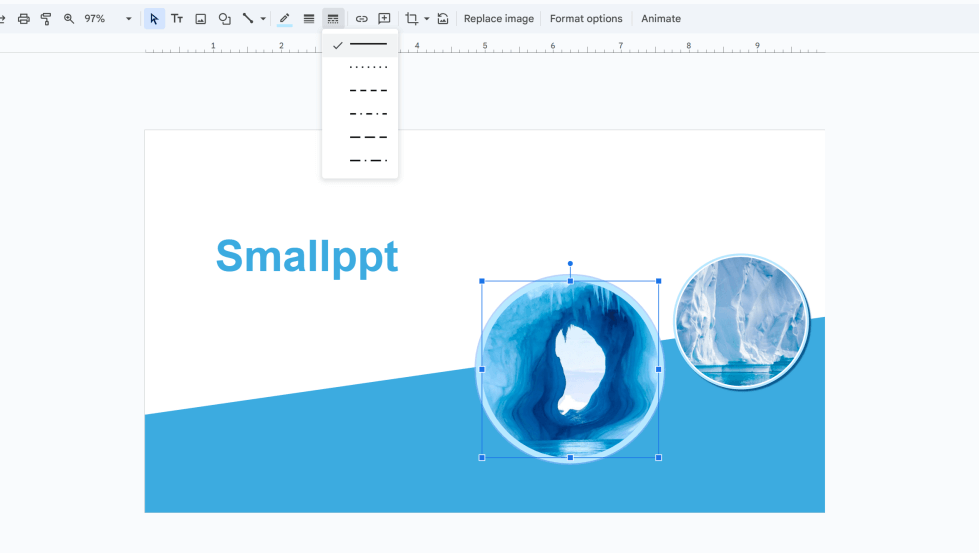
Step 5: Customize the style using the Border Dash dropdown.
Note: Border size adapts to the text box dimensions. Adjust the text box size to ensure the border fits your content perfectly.
2. How to Add a Border to Images in Google Slides
Step 1: Open Google Slides, select an existing slide, or import a new slide from an external source.
Step 2: Click to select an image where you want to add a border.
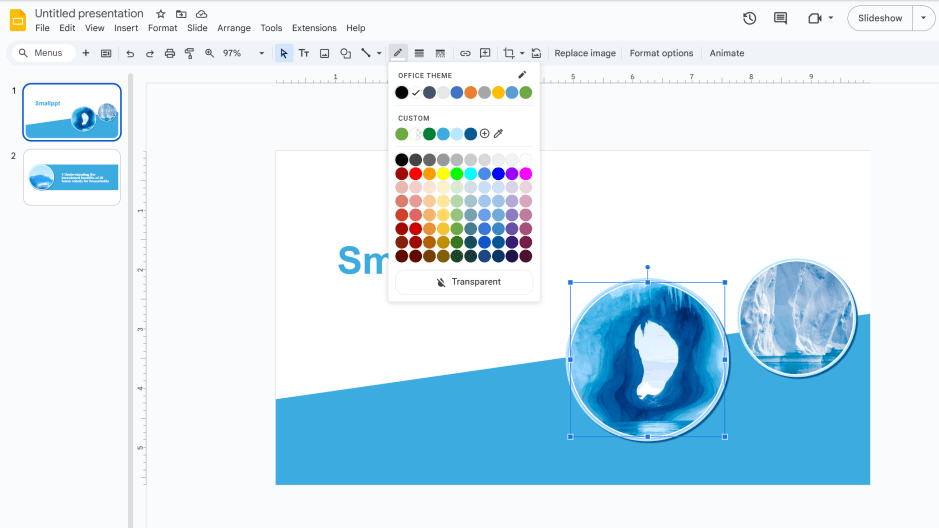
Step 3: Locate the Border Color in the toolbar and choose your desired color.
Step 4: Adjust the border thickness under Border Weight to make it stand out or blend with your design.
Step 5: Customize the style using the Border Dash dropdown.
Note: The border added by this method cannot be reshaped or moved independently.
3. How to Add a Border Around Text and Images More Flexibly
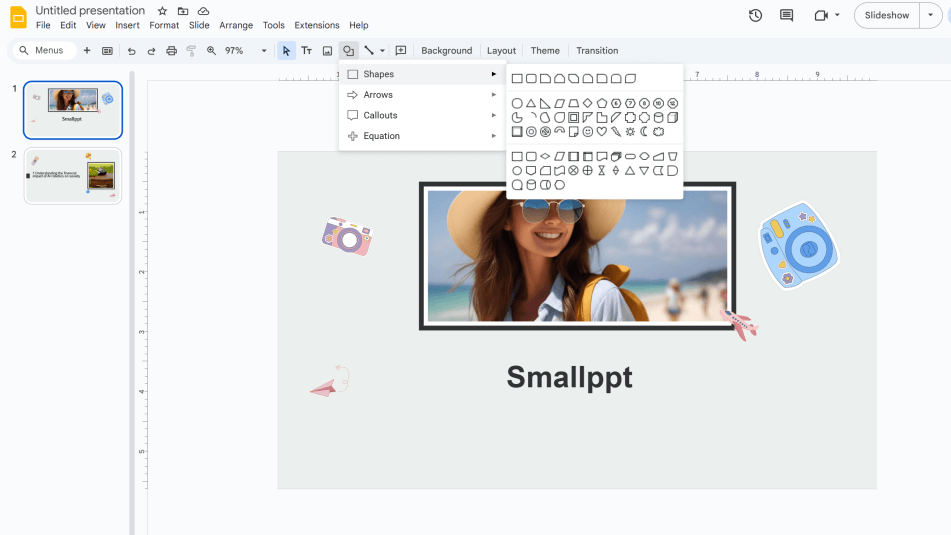
Step 1: Locate the Shape tool in the toolbar and choose a shape (e.g., rectangle, rounded rectangle).
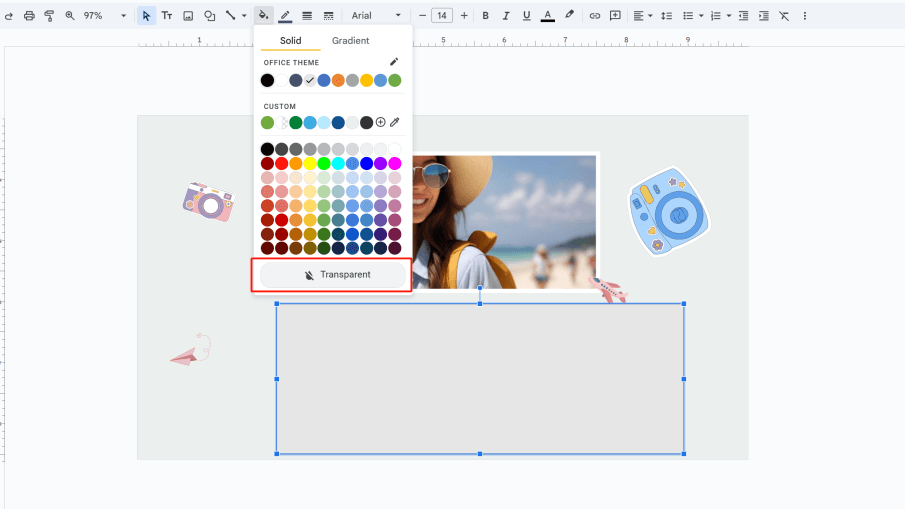
Step 2: Select the inserted shape, then set the Fill Color to transparent to remove background coloring.
Step 3: Adjust the border color using the Border Color option.
Step 4: Customize the thickness via Border Weight and choose a style (e.g., solid, dashed, dotted) in Border Dash.
Step 5: Resize the border by dragging its edges to fit your text or image perfectly.
Notes:
- To remove a border added via Border Color, simply set the border color to transparent.
- To delete a border created by inserting a shape, select and delete the shape directly.
How to Enhance Your Design by Adding Borders in Google Slides
By duplicating the same shape and overlapping two borders, you can create a simple yet layered design.
Create a border, duplicate it, overlap the two borders and rotate them in different directions.
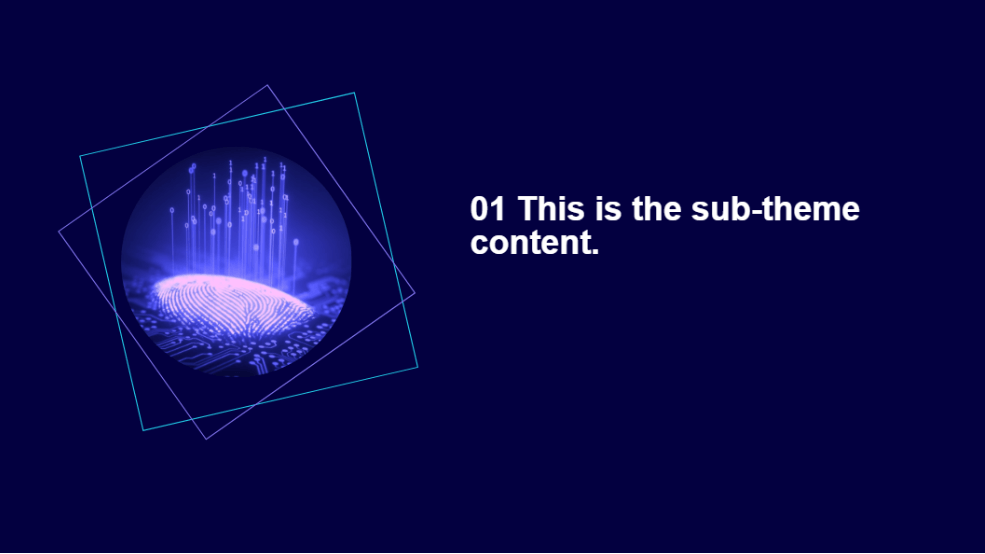
By copying multiple copies of the same border and overlapping them by changing their sizes and rotation angles, you can design a style with richer visual effects.
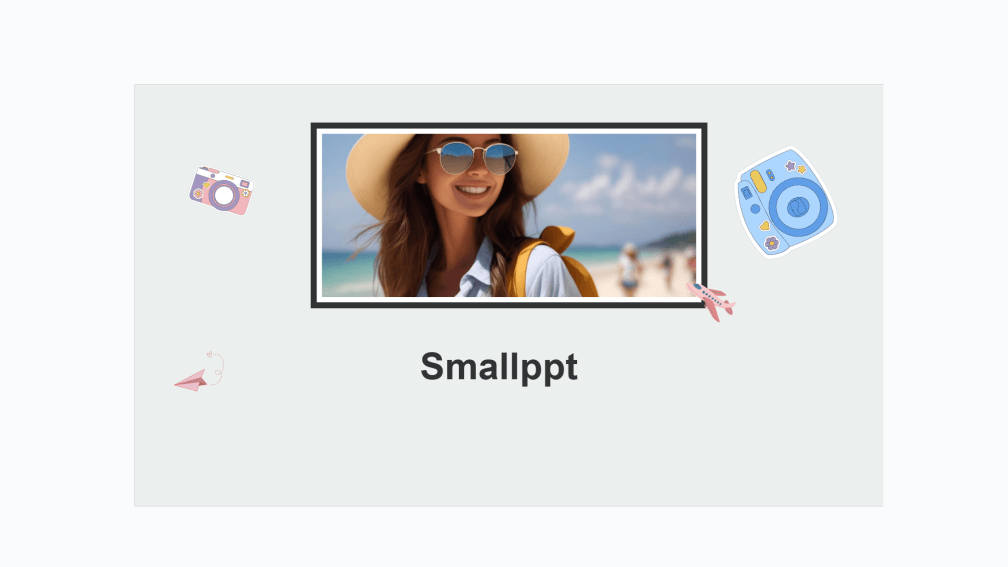
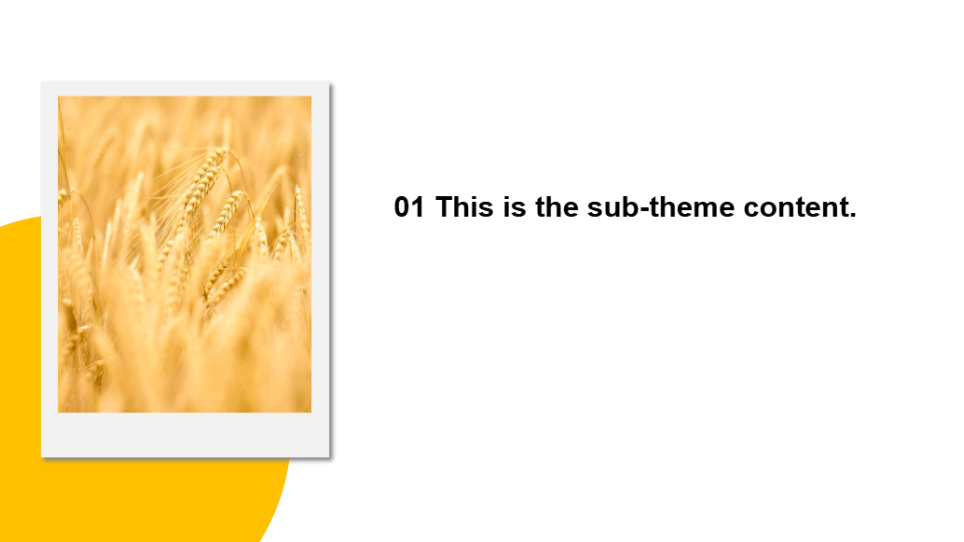
Placing a white border under an image and adding a drop shadow can give the image a printed photo effect.
Adding a border around the text can make it stand out more. Of course, you can also add illustrations and other elements to the corners of the border to make the page look less monotonous.

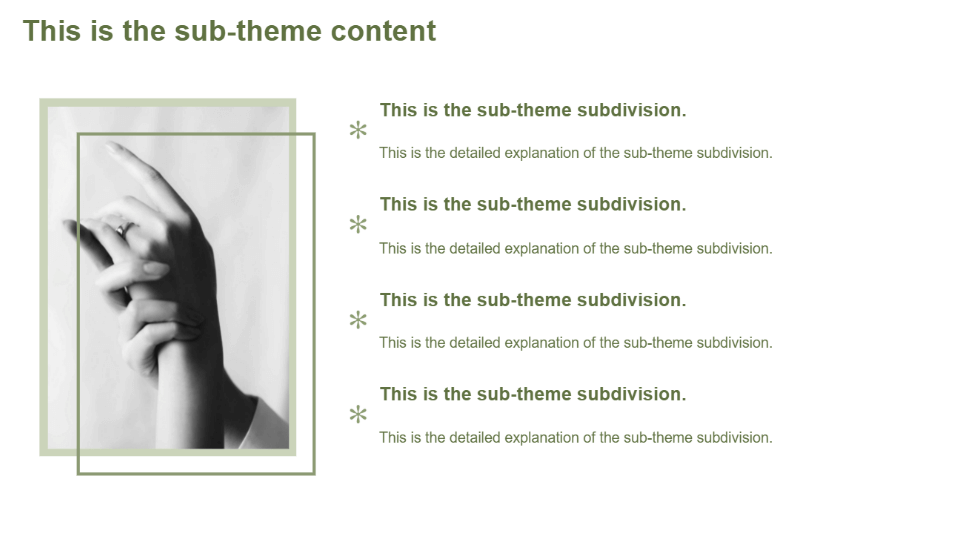
Placing a graphic of a different color under the image can separate the image from the background, and then adding a border can change the overall look and feel of the image. Even if there is only one image on a page, the overall picture will not be monotonous and boring.
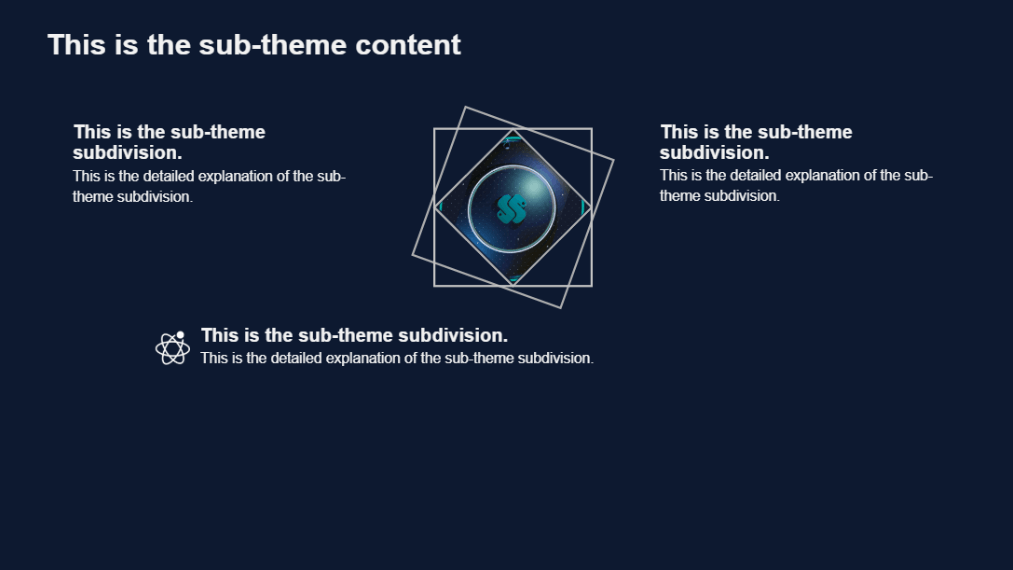
· Find this shape in Google Slides, fill it with a suitable gradient color, and set the border to transparent.
· Duplicate the shape, and set fill to transparent while applying a border color matching the design.
· Insert a rectangle, set its color to match the background, and remove its border.
· Position the rectangle over the duplicated border to cover its top and bottom edges.
· Move the original gradient shape to the top layer and resize it to align with the border.
· You can optionally add titles atop or replace shapes with images.

If you want to get more inspiration about border design, you can log in to Smallppt, and you will find that there are more border styles for presentation than you think.
Make an Amazing Presentation with an AI-powered Tool
Powered by AI-driven design, Smallppt instantly generates polished presentations based on your input, eliminating the need to struggle with slide design or content creation.
Why choose Smallppt? The answers await as you scroll.
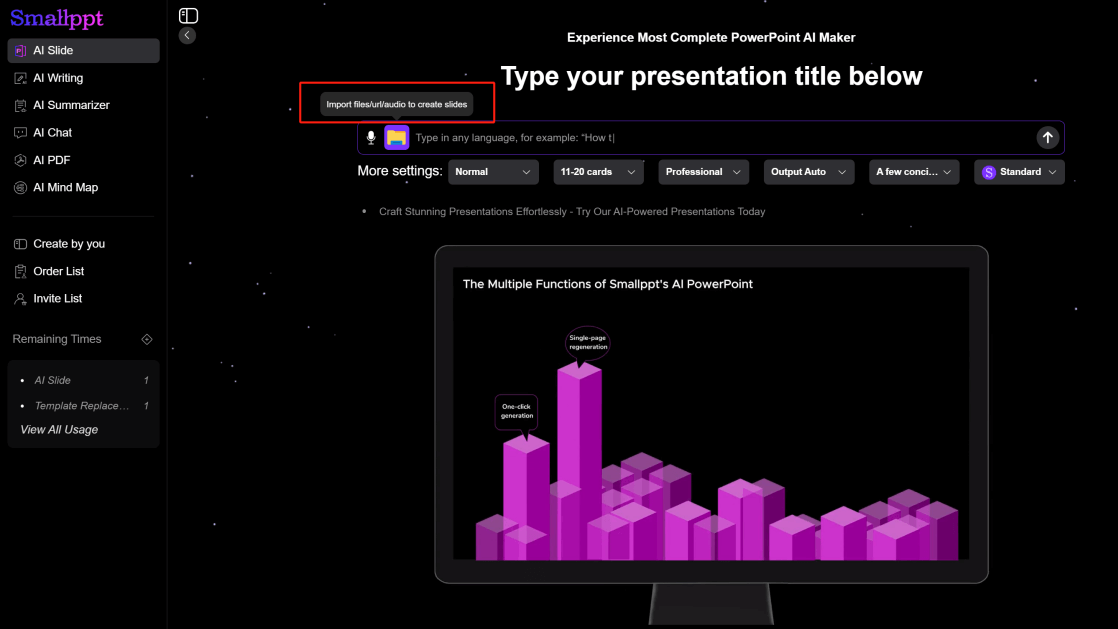
Multiple Input Methods
Create slides not just from text, but also by uploading documents, audio files, or URLs.
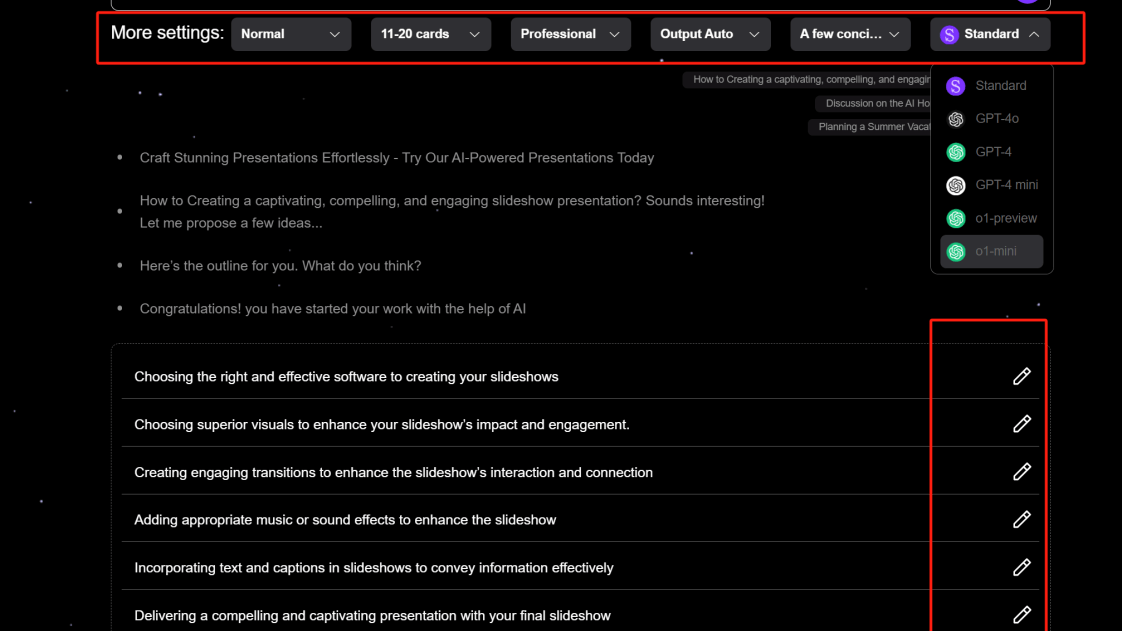
Granular Customization
In the More Settings ribbon, you can select slide content fill style, number of slides to generate, output language, and the AI model for content generation.
After the AI generates the outline, you can manually modify the outline content.
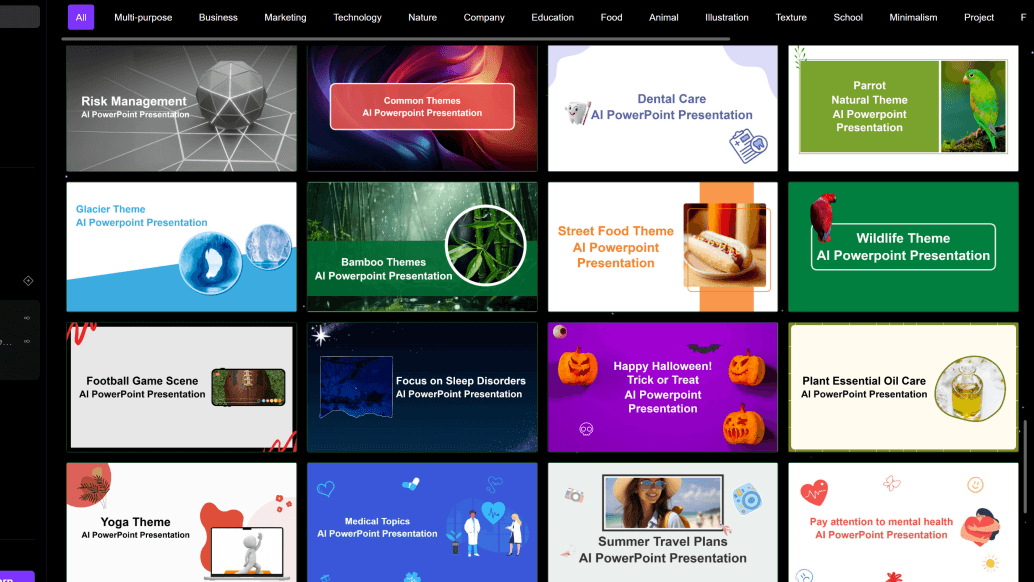
Vast Template Library
Smallppt has 20 template categories. No matter what style of template you want, you can find it here.
Switch templates effortlessly even after generating your slides.
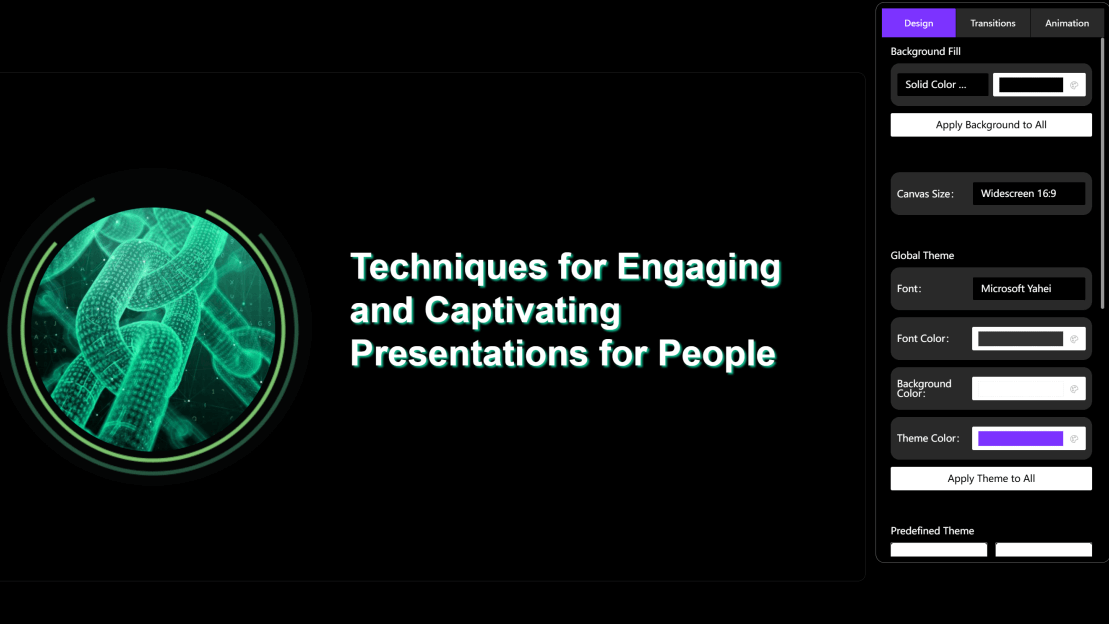
Online Editing Templates
After slides are generated, you can edit details online. Whether fonts, images, or filled text content, all can be modified. Smallppt also supports adding logos and charts within slides.
Choose a template in Smallppt and practice how to add a border to text and an image. There are also many beautiful slides designed by adding text and image borders. Click in to take a look.