In presentations, highlighting pictures helps emphasize key points and enhances the design appeal of your slides.
So, do you know how to highlight part of a picture in Google Slides? This guide will demonstrate how to highlight specific parts of images and text content, using highlighting techniques to elevate your slides.
Why Highlight in Google Slides?
1. Marking and Emphasis. Highlighting images and text in slides helps present key points prominently, allowing the audience to quickly identify and grasp the main information. It also enhances the overall presentation effect.
2. Boosting Presentation Appeal. Highlights add visual variety to slides. Plain text and images can easily cause visual fatigue, but using highlights appropriately makes the presentation more dynamic and engaging, keeping the audience focused.
3. Guiding Effect. During the presentation, standout text and images not only capture the audience's attention but also serve as cues for the speaker, helping them deliver the content more logically and clearly, making the speech more structured.
How to Highlight a Picture in Google Slides -- 9 Ways
1. Copy and Adjust Images
Step 1: Open Google Slides and insert the image you want to edit.
Step 2: Make a copy of the inserted image.
Step 3: Use the Crop Image tool in the toolbar to crop the image to the area you want to highlight.

Step 4:Select the first image, then go to Format Options in the toolbar.

Step 5: Under Adjustments, modify the image's transparency.
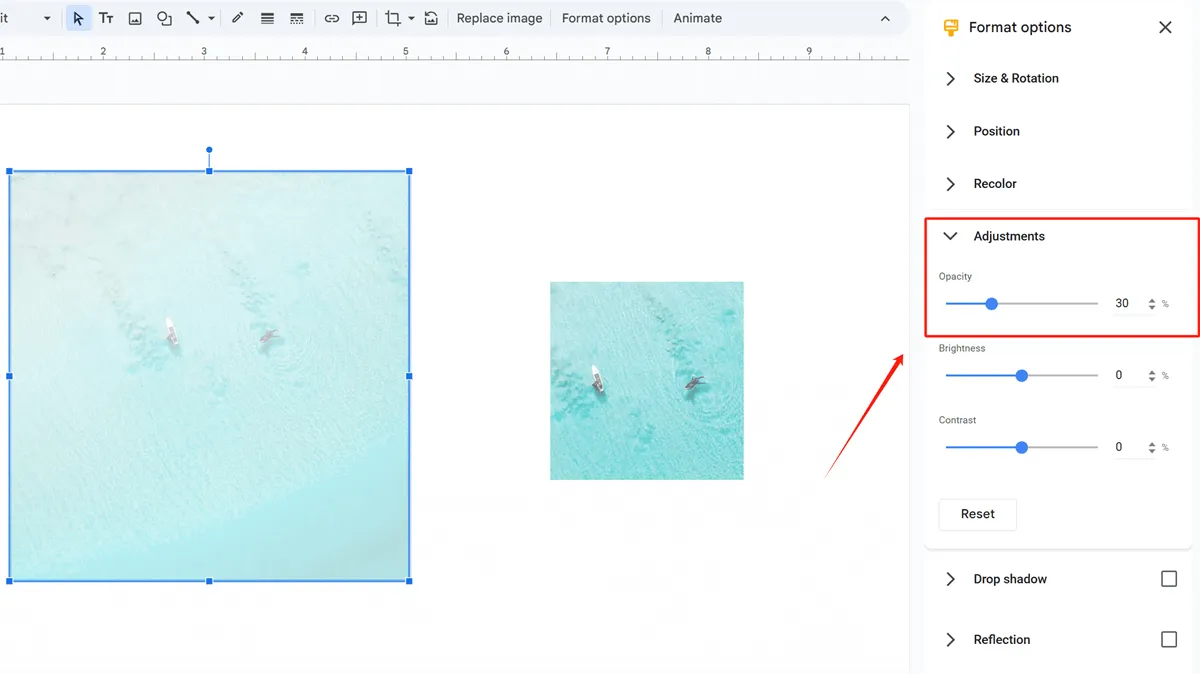
Step 6: Move the cropped image on top of the original, aligning them as needed.

Now you’ll have an image with a specific part highlighted.
2. Add Borders
If you're unsure how to add borders to images, you can check out this article and follow the instructions there. It also introduces several ways to add borders to pictures.
You can choose to add a border around the image to highlight the entire image.

Another option is to place borders within the image itself to emphasize particular sections.
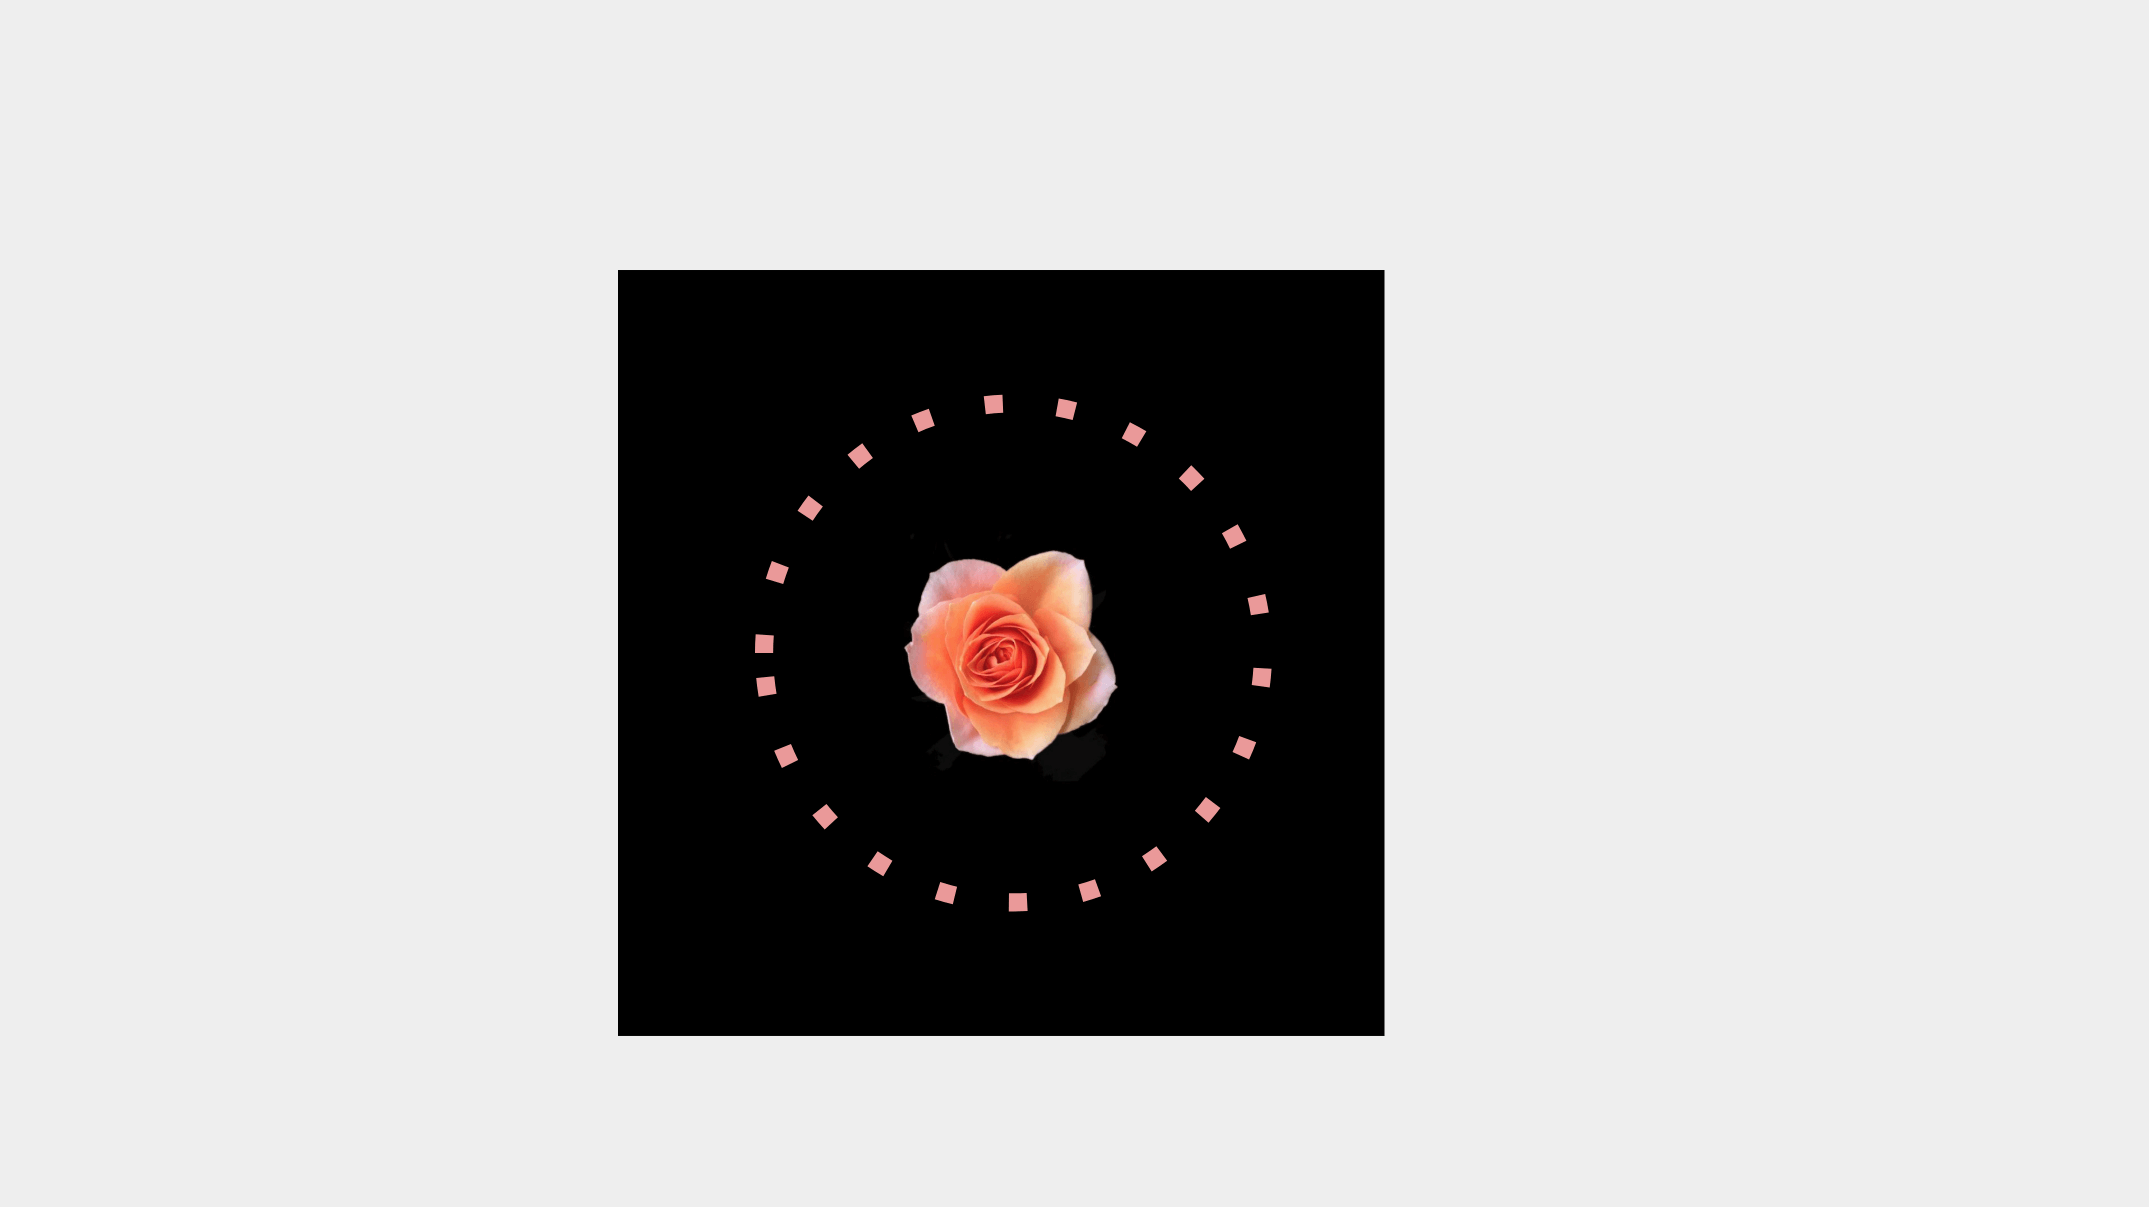
3. Insert Colored Shapes
Follow the same steps as adding borders (above), but instead of making the shape transparent, adjust its color as needed for emphasis.
Simply place solid-colored shapes beneath or around your image to make it stand out.

4. Layer Text on Pictures
By adding text directly onto images, you can enhance the visual focus of your slide and achieve editorial-style layouts.
· Click Insert to add a Text Box within the slide.
· Adjust font, color, style, and rotation to complement the image.
· Adjust text position within the image.

5. Crop Images into Custom Shapes
Standard rectangular crops often lack visual interest. Try cropping your images into unique shapes to create more dynamic slides.
· Click to select the image.
· In the toolbar, locate Crop Image and click the small downward arrow next to it.
· Choose your desired shape from the available options.

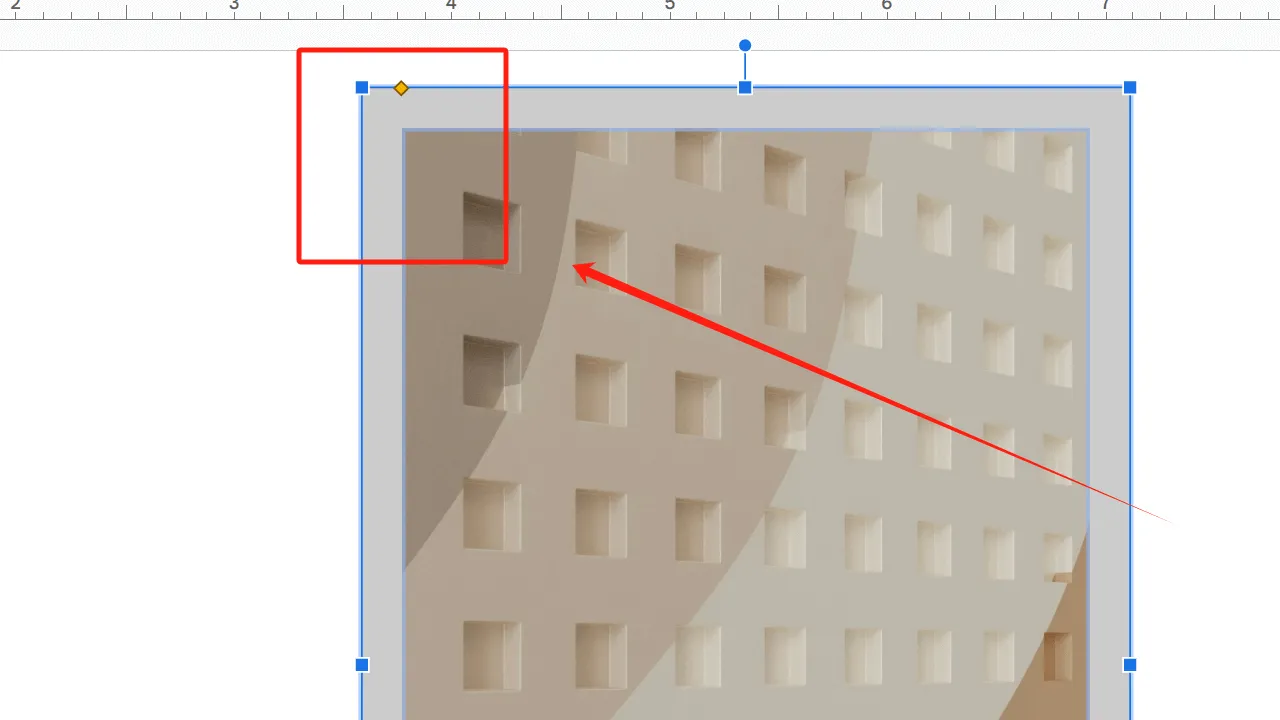
6. Add Shapes Over Images
· Insert an image into your Google Slides presentation.
· From the shapes menu, select the Frame shape and insert it
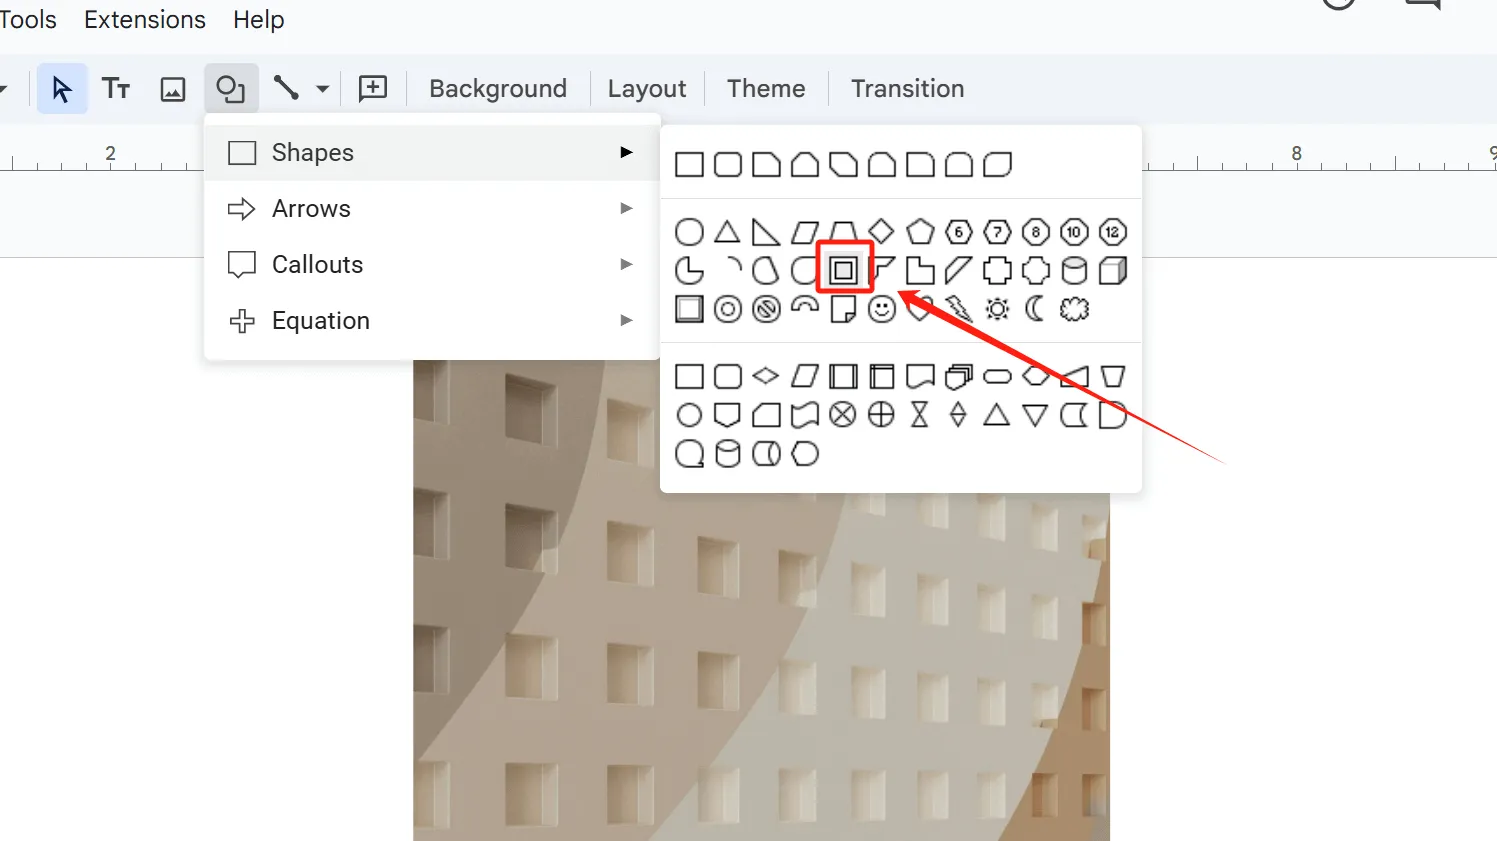
· Position the Frame over your image and resize it to match.
· Adjust the Frame thickness by dragging the yellow diamond handles - leave empty space to highlight key image areas.
· Click Fill Color to customize the color and change the transparency of the color.
· Change the color and color transparency of the inserted shape by dragging the small circle in the box.
This framing method offers limited flexibility for highlighting image areas. Consider experimenting with other shape types for more versatile effects.
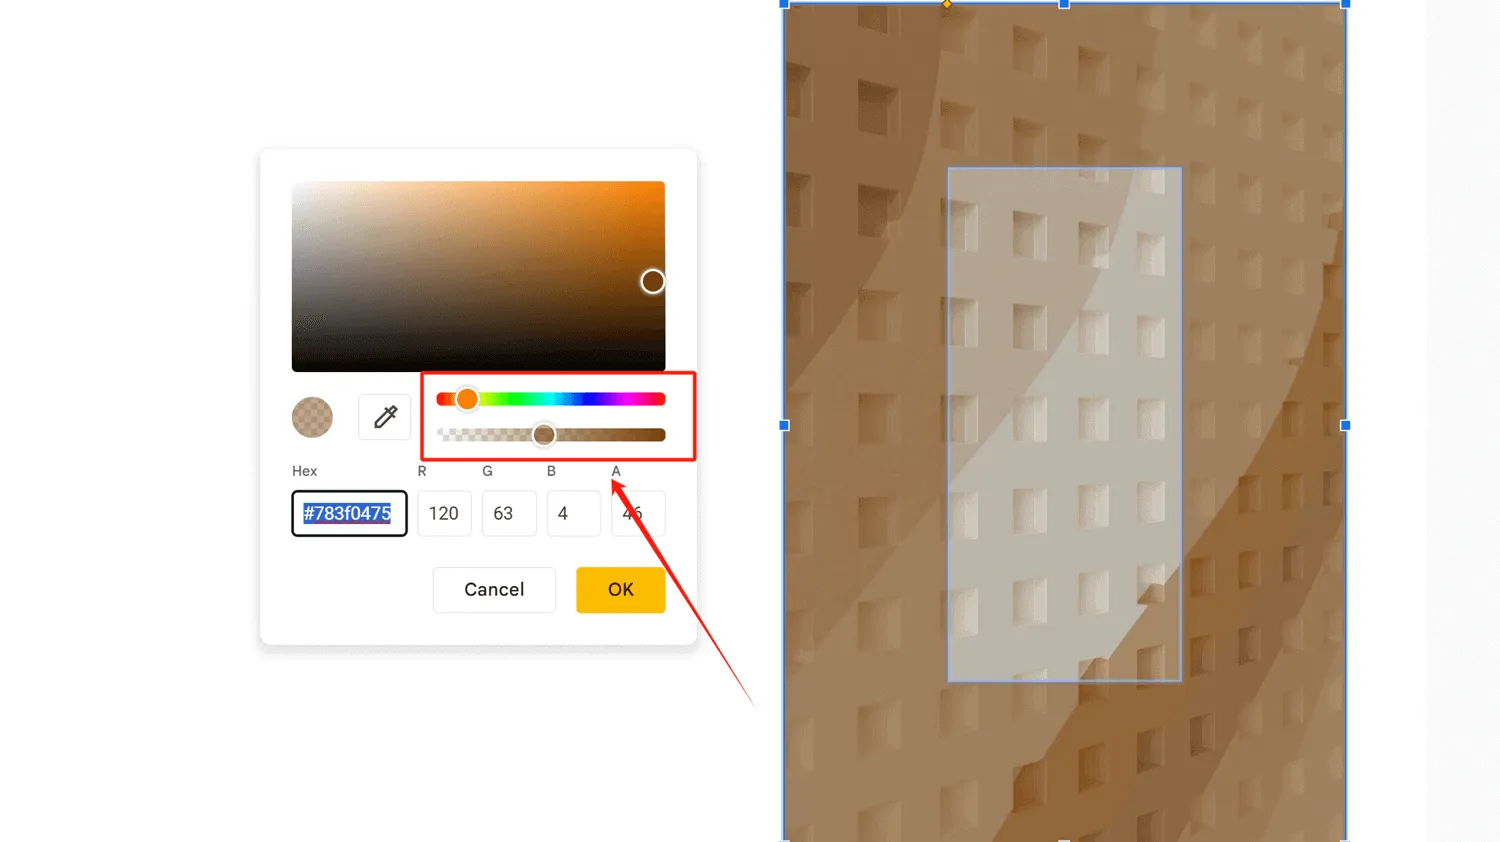
7. Recoloring: Step-by-Step Instructions
· Insert an image into your Google Slides.
· Make a copy of the image.
· Crop both images separately, ensuring the cropped sections align seamlessly when combined.
(Alternative option: Crop only one image)
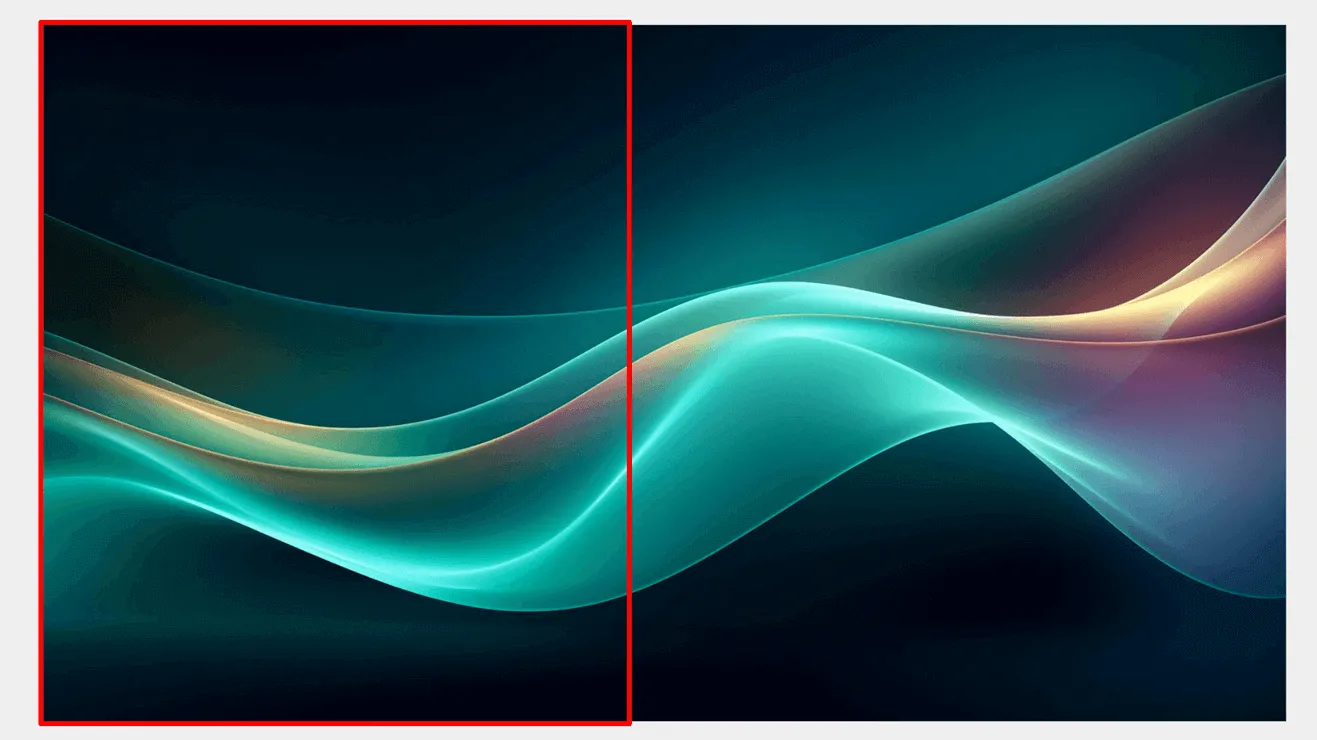
· Or you can choose to crop only one of them. You need to overlap the two pictures perfectly, and then crop the top one.
(The area in the red box is the other picture that is cropped.)
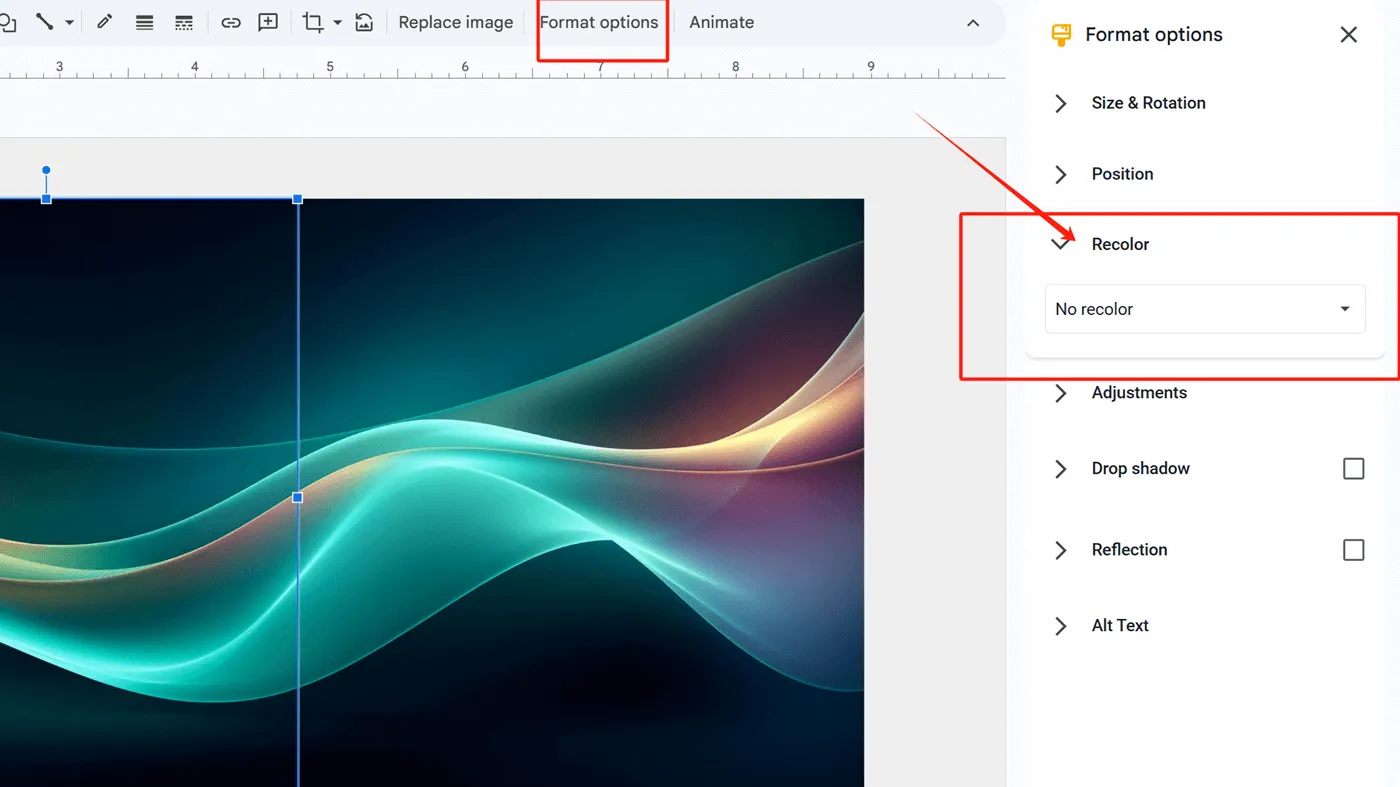
· Select one image, navigate to Format Options → Recolor to modify its color.
· Final result: A single composite image displaying two contrasting colors, effectively highlighting your target area.

8. Add Shadow
Adding shadows to an image can enhance its three-dimensional effect and enrich its visual impact.
· Insert an image into Google Slides.
· Select the image and click Format color, then find Drop shadow.
· Adjust the shadow's size, direction, distance, and color to make it more pronounced and better suited to the image.

9. Set Image as Background
Setting an image as your slide background is not only a great way to highlight the picture but also makes your slide more visually striking and enhances your design.
· Insert an image suitable for use as a slide background.
· Select the image, right-click, and find Set image as background. Click it to automatically set your image as the slide background.
(Note: Adjust the image size and transparency before inserting it to better meet background requirements.)
· If your background is too prominent and you need to add text over it, insert a shape and resize it to fit the entire slide.
· Then, remove the shape’s border and adjust its color and transparency.
· Now, you can add text to it.
Let Smallppt's AI Presentation Maker Create Stunning Slides for You
Smallppt is not just a presentation tool, there is something more to it. It is able to create a compelling starting point for presentations in just minutes. The satisfaction of bringing your work to life and sharing it with the world. Embrace the power of Smallppt and your ideas will come to life like never before.
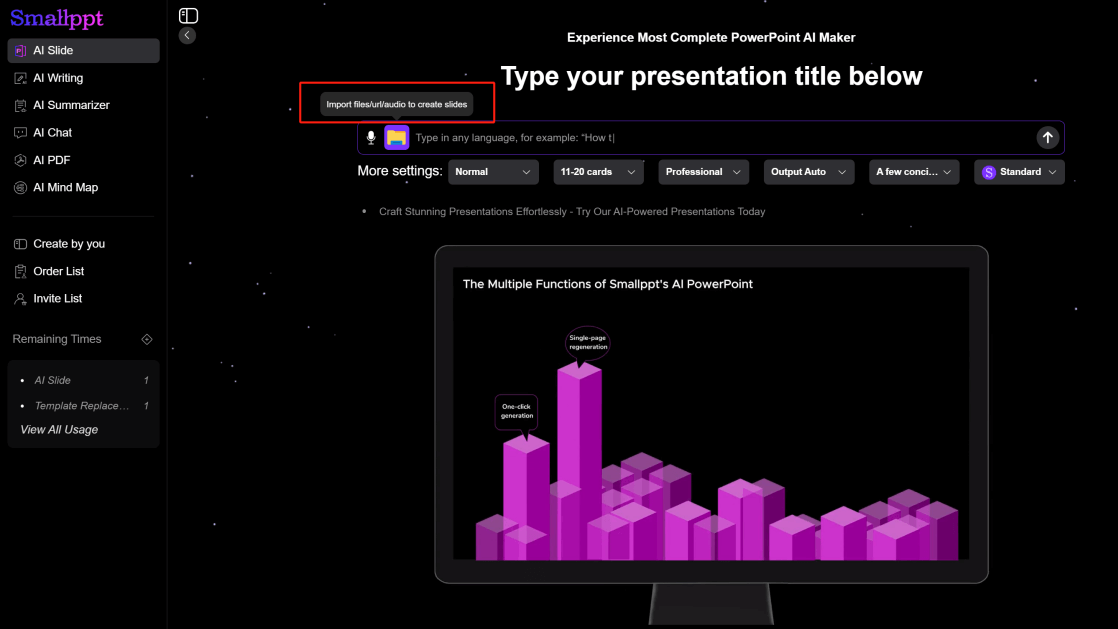
Simply input keywords, upload a file/URL/audio, and Smallppt will quickly generate a text outline for you. With a vast collection of elegant templates to choose from, once you select one, Smallppt will generate a polished slide deck in no time—complete with detailed content based on your outline.
Smallppt is undoubtedly the perfect assistant to save you time and boost your work and study efficiency.
Now that you've learned so many methods that how to highlight parts of a picture in Google Slides, why not try them out in Smallppt? Its templates can also inspire you with more creative ways to highlight images.