If the text colors in PowerPoint no longer meet your creative needs, placing an image inside your text can help you craft your own unique font style, transforming monotonous text into something stylish and vibrant.
In this guide, you’ll learn how to place an image inside your text in PowerPoint. Let’s dive in and make your words pop!
Benefits of Filling Your Text with Images
1. Enhanced Visual Appeal. Filling text with images makes your words more eye-catching than solid colors or gradients, instantly drawing viewers’ attention.
2. Better Alignment with Slide Themes. For presentations about "sustainability" or "environmental protection," inserting images of forests, grasslands, etc., into your text helps the words visually match and reinforce your topic.
3. Boosted Creativity. Using images to fill text creates unique font styles that stand out from standard, default-colored fonts, allowing your design to showcase originality.
4. Stronger Audience Memory. The novelty of image-filled text sparks curiosity, making your presentation more memorable and leaving a deeper impression on viewers.
How to Put a Picture in Text on PowerPoint
There are three ways to place an image inside your text. You can choose the method that suits your needs.
1. Fill Text with A Picture
Step 1: Open PowerPoint, insert a text box, and enter the text.
Step 2: Adjust the font and text size, ensuring your text lines are thick enough and the text is large enough so that the inserted image can be displayed more clearly.
Step 3: Click to select the text box or highlight the text you want to fill with an image.
Step 4: Find Shape Format in the toolbar above and click on it.
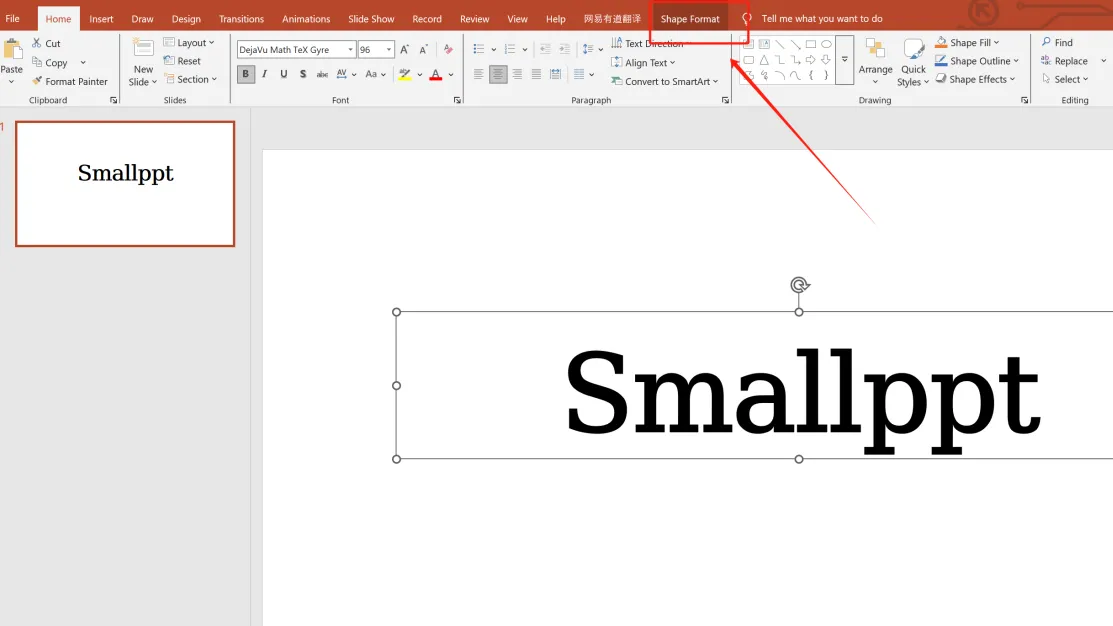
Step 5: Locate Text Fill next to WordArt Styles and click to open it.
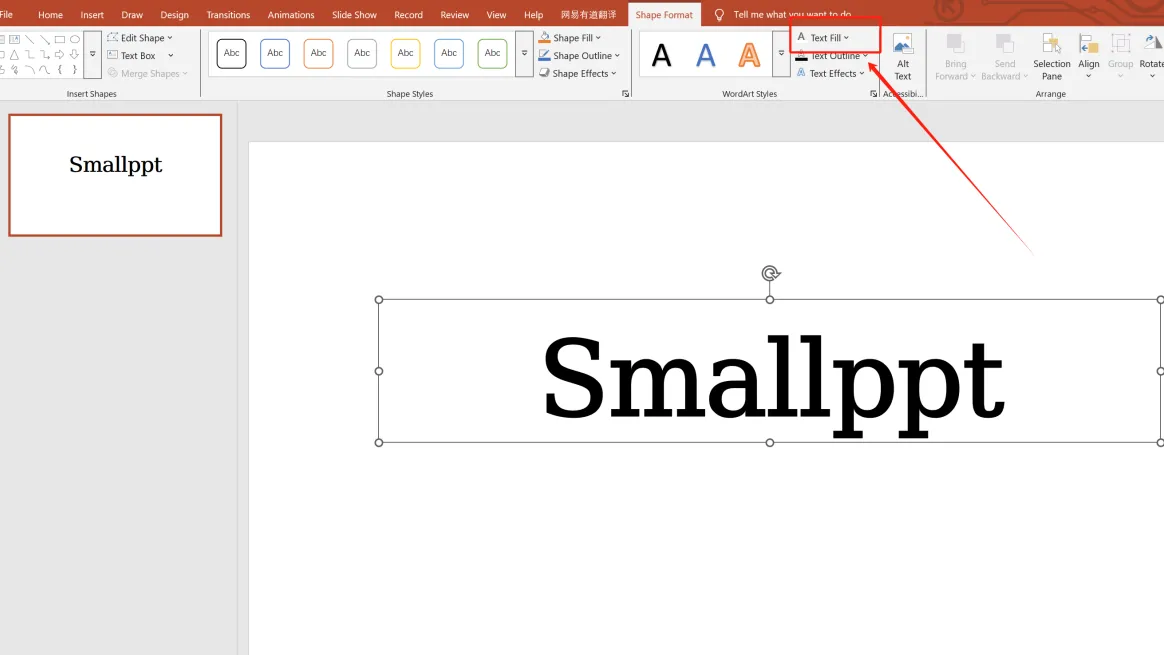
Step 6: Select Text Picture Fill.
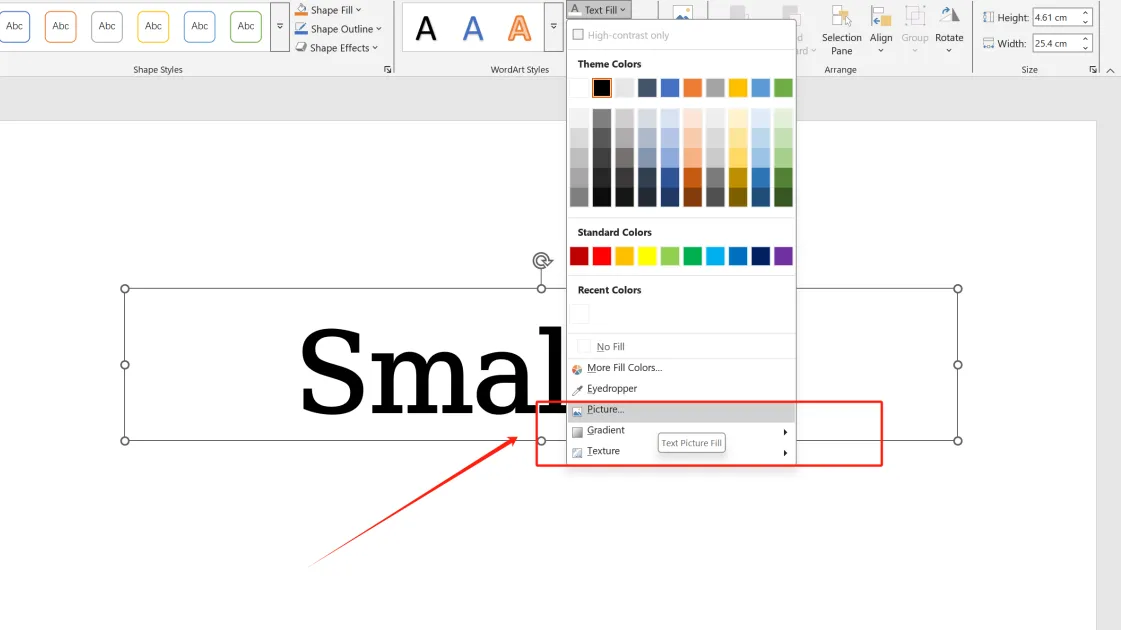
Step 7: Choose a suitable image for filling.

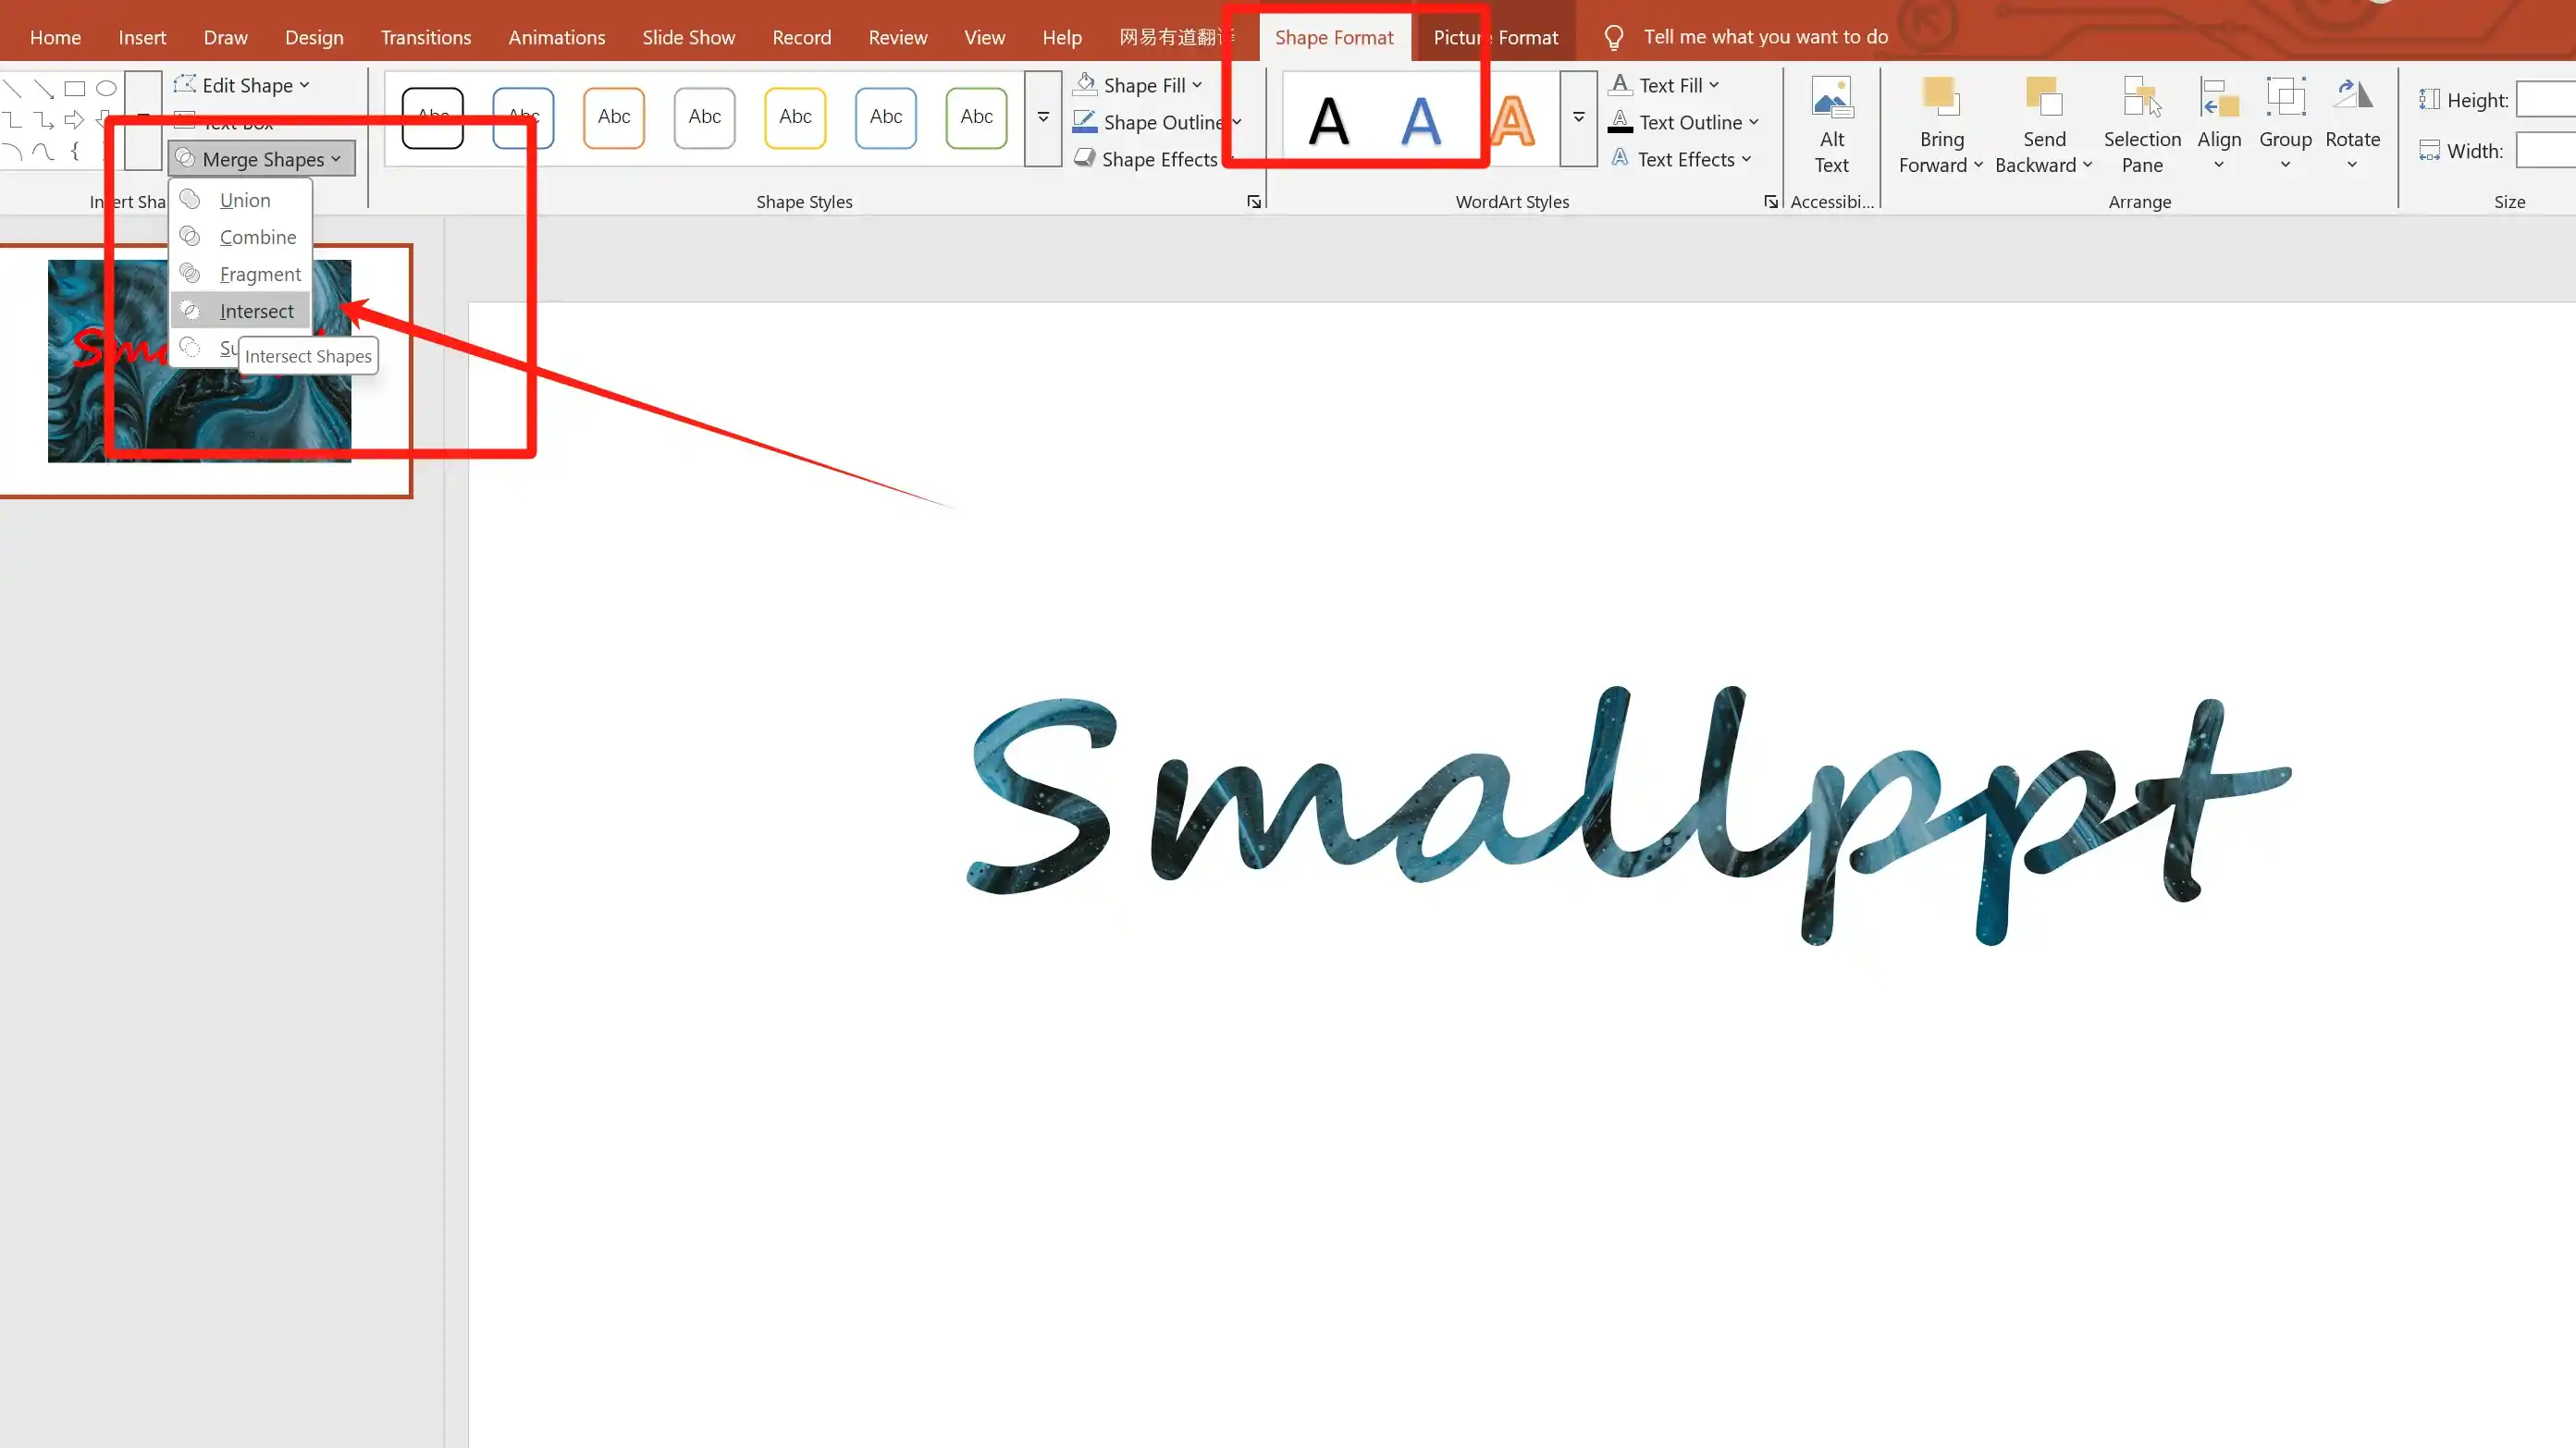
2. Directly Merging Images with Text
Step 1: Insert a text box on the slide and enter your text.
Step 2: Modify the font as needed.
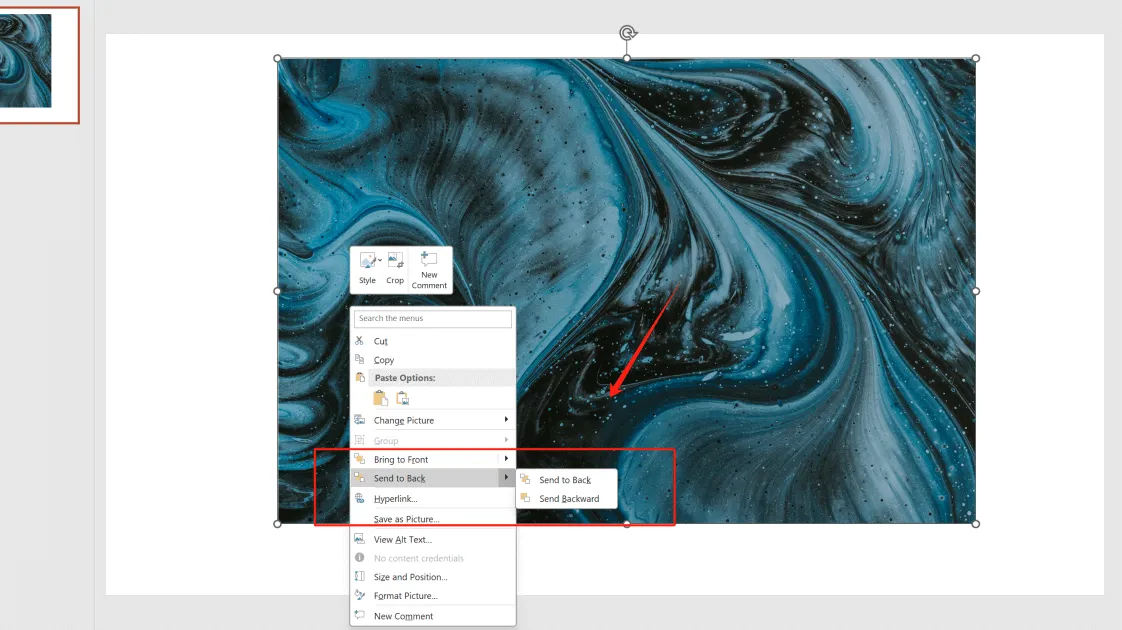
Step 3: Insert the image, right-click it, and select Send to Back to place it behind the text.
Step 4: Select the image first, then the text box. Under Shape Format, choose Merge Shapes → Intersect.
(Note: The selection order (image first, then text) affects the merging result.)
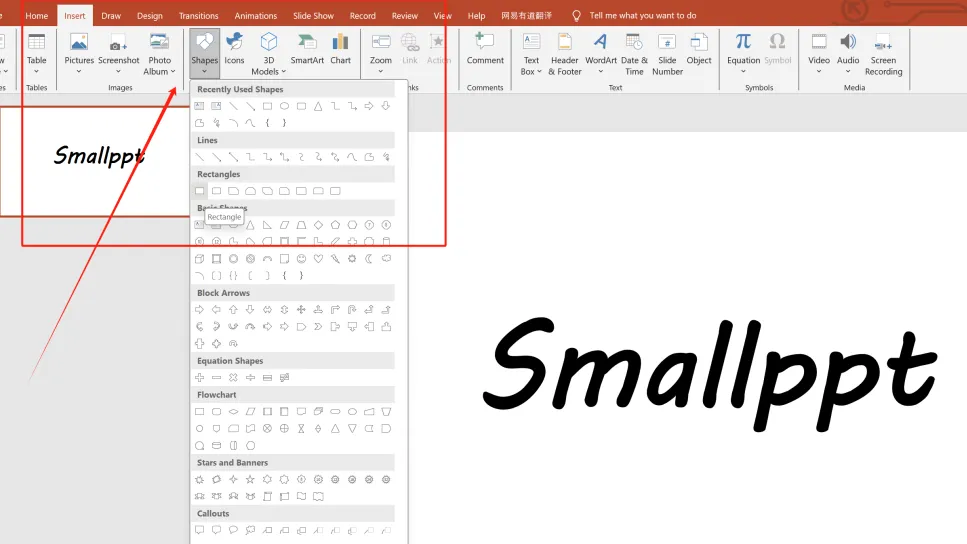
3. Merge Text with A Shape
Step 1: Insert a text box on the slide and enter your text.
Step 2: Adjust the font and text size.
Step 3: Insert a rectangle: Insert → Shapes → Rectangles.
(Note: Please make sure the text style is properly adjusted. Once combined, the text will convert into an image, making it uneditable.)
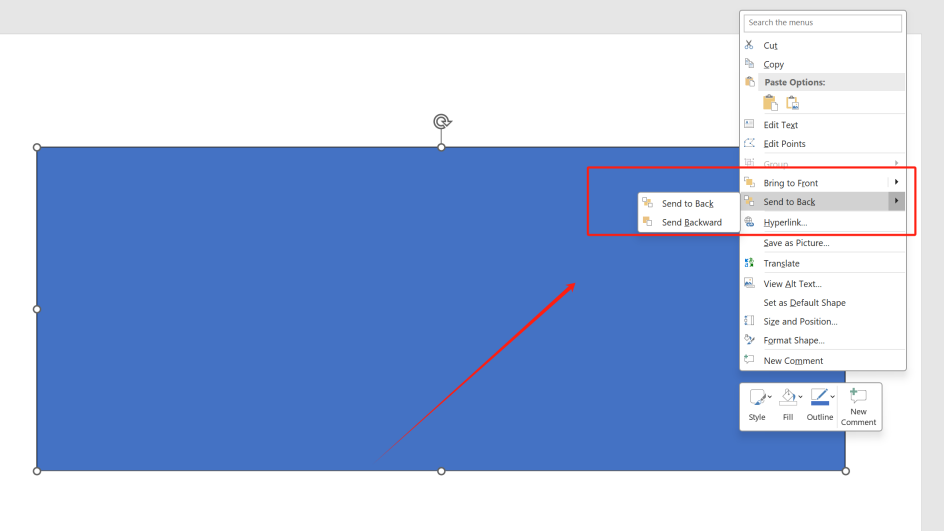
Step 4: Right-click the rectangle, select Send to Back to place it behind the text.
(The colors of the text and rectangle don’t matter—this won’t affect the next steps.)
Step 5: Select the text box first, then the rectangle. Go to Shape Format, choose Merge Shapes → Combine.
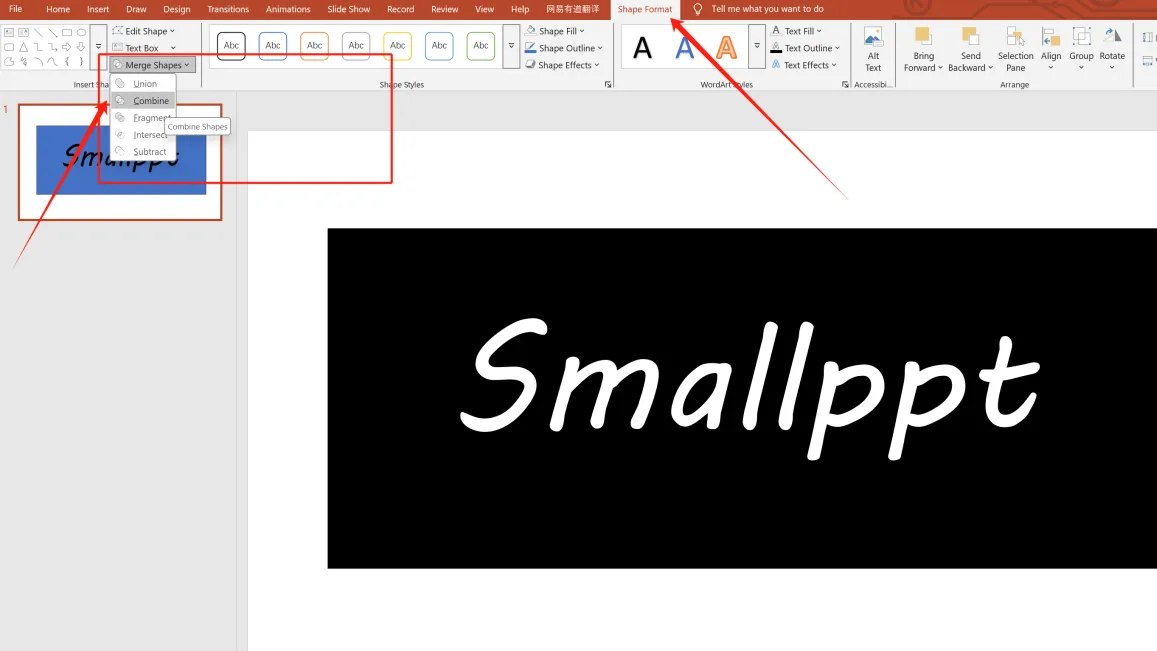
Step 6: Insert the image you want to fill, send it to the back, and resize/crop it to match the rectangle dimensions (as shown, the image is already adjusted and placed behind the rectangle).

Step 7: Select the image first, then the rectangle (after resizing, hold Ctrl and click the rectangle). Under Shape Format → Merge Shapes, choose Combine or Subtract.
(Now, you can only resize the text—font changes are not possible.)
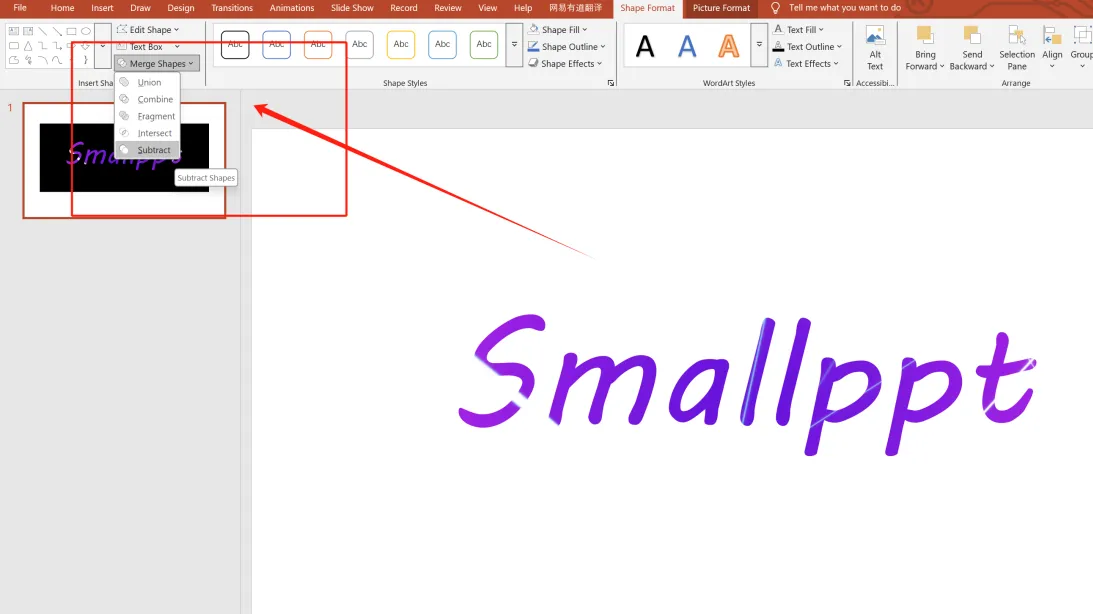
Note: If the Merge Shapes step fails, double-check the selection order of the image, shape, and text—the order affects how elements merge.
How to Insert a Picture Behind Text in PowerPoint
If you want to insert an image as the background of the text, it is also possible.
Step 1: Insert a text box on the slide and enter your text.
Step 2: Adjust the size of the text box, as the inserted image will be scaled to fit the text box dimensions.
Step 3: Click to select the text box.
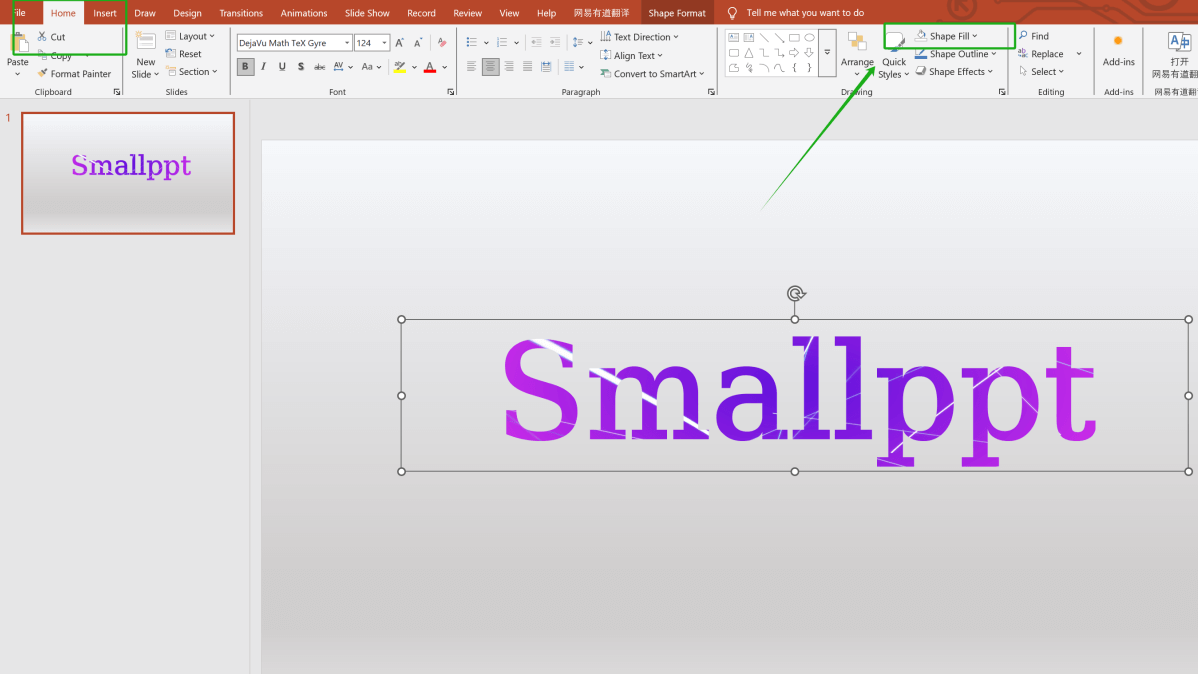
Step 4: In the Home tab, find Shape Fill and click on it.
Step 5: Choose a suitable color, or click Picture to proceed.
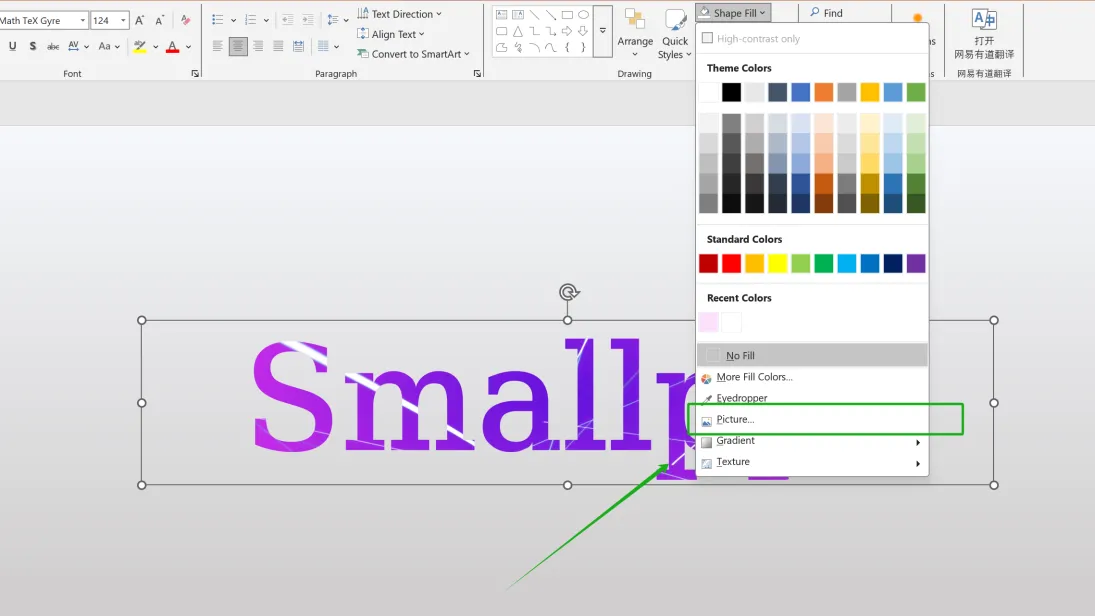
Step 6: Select an appropriate background image (the image will be compressed, so make sure to adjust its dimensions in advance).

Bonus: Enhance Your Text Design
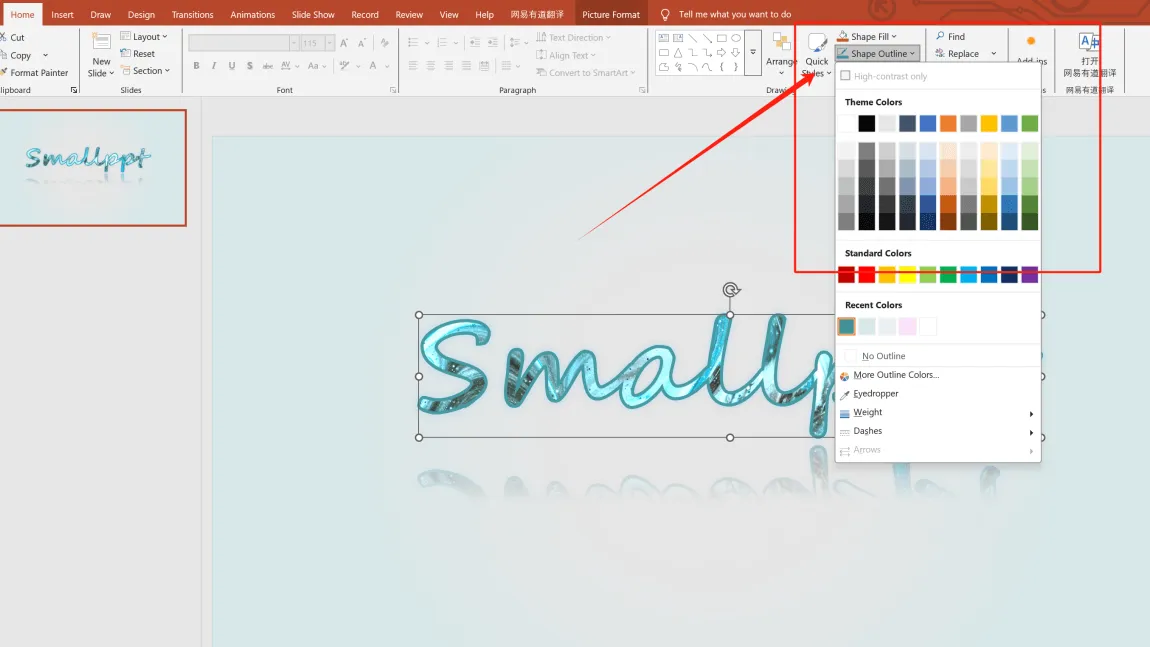
You can elevate your design by adjusting the font’s border color, shadow, reflection, and other effects.
■ Customize the shape outline. Go to the Home tab, and select Shape Outline to add a border.
■ Right-click the text, choose Format Background, and fine-tune additional details (e.g., brightness, effects).
The Fusion of Creativity and Artificial Intelligence
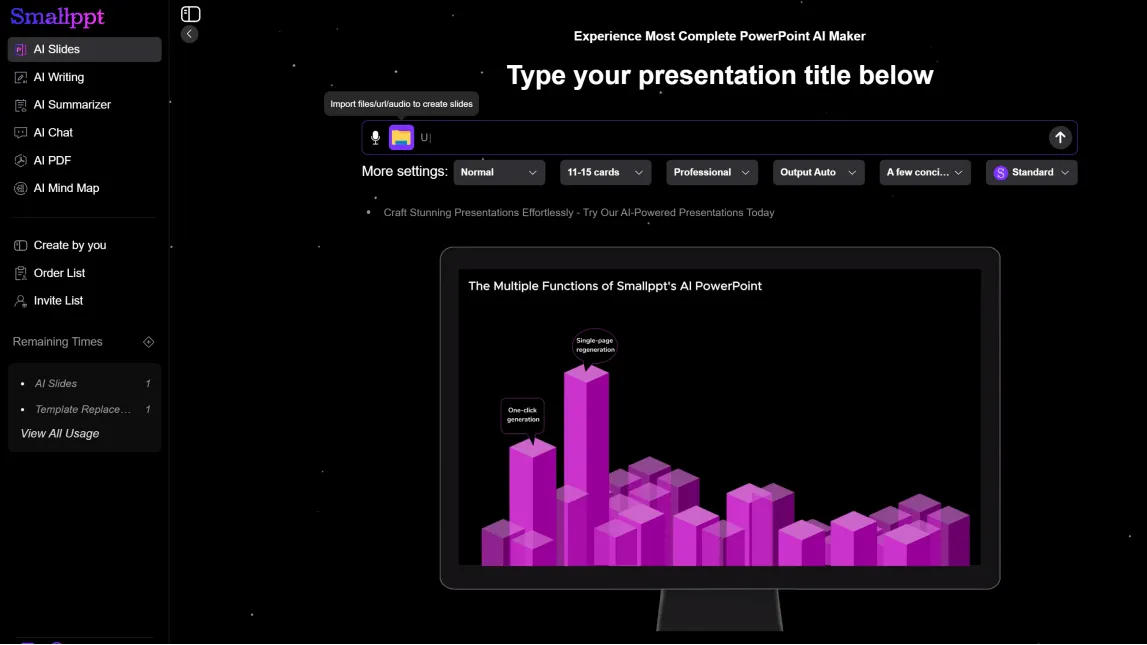
Smallppt is the ultimate presentation maker that brings your ideas to life. By automatically generating presentations, it saves you valuable time, allowing you to focus on what truly matters. Not only does it immerse you in design, but it also sparks your creativity.
When inspiration strikes but needs nurturing, chat with our AI Chat. It opens new perspectives, helping your budding ideas grow and bear fruit.
If you already have a text outline but lack time to design, simply upload your file/URL/audio to AI Slide. The AI will intelligently analyze your content and generate a polished presentation in minutes.
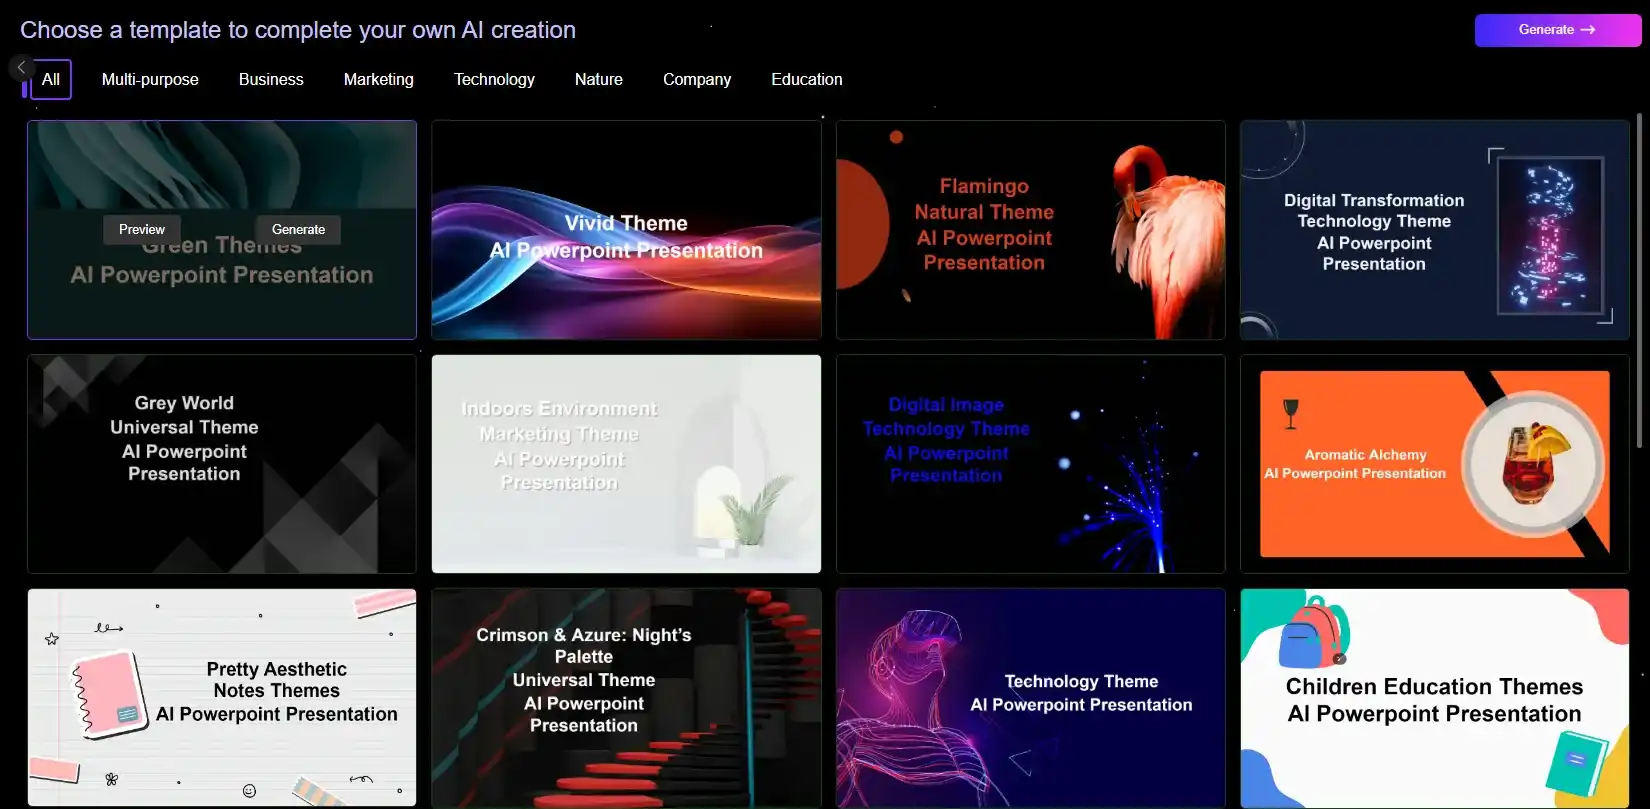
Explore our vast library of stunning templates. If creativity runs dry, browsing here will surely reignite your inspiration.
This article introduced three methods for how to place an image inside your text in PowerPoint. Try them yourself to elevate your text’s design and richness. With Smallppt, most presentation-making hassles are solved, letting you focus entirely on your creativity.