


SVG graphics are popular in modern presentations because they're clear, scalable, and flexible. Whether you're a designer, educator, or just making slides, SVGs can make your visuals stand out.
But here's a common question: why can't I add SVGs directly to Google Slides? The answer is simple—Google Slides doesn't support direct SVG imports, which can be frustrating.
In this article, I'll show you easy ways to add SVG files to Google Slides while keeping them editable as vectors. Whether it's charts for class or graphics for work, these steps will help your slides look professional and polished.
Step-by-Step Guide: How to Add SVGs to Google Slides
Want to make your slides look crisp, professional, and totally scalable? SVGs are the way to go—but Google Slides doesn't let you import them directly. Don't worry, I'll show you exactly how to get it done, step by step.
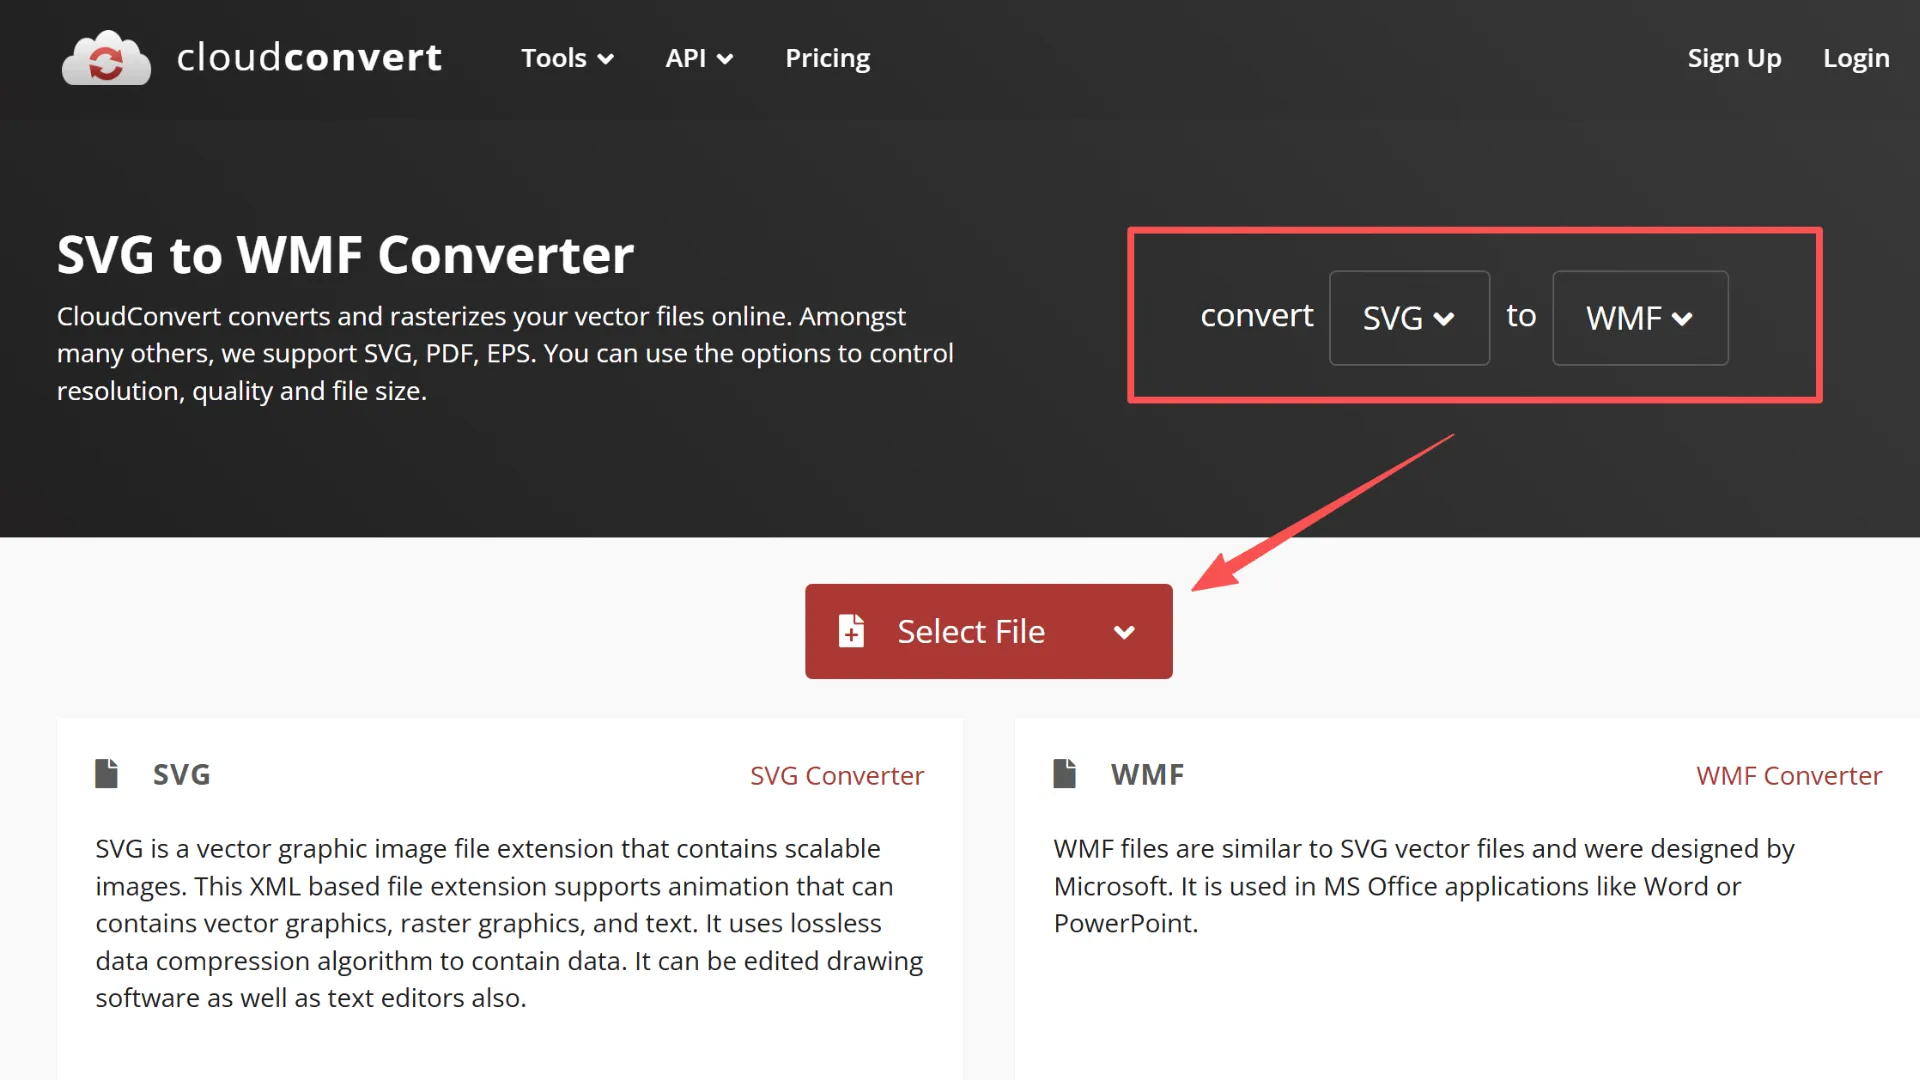
Step 1: Convert Your SVG to a WMF File
Since Google Slides can't handle SVG files directly, the first step is to convert them to WMF. Google Drawings supports WMF perfectly and works seamlessly with Slides.
I usually recommend reliable online converters like Cloudconvert or Zamzar.
Tips:
- Check for complex paths before converting to avoid any issues later.
- Use consistent file names to keep everything organized in Google Drive.
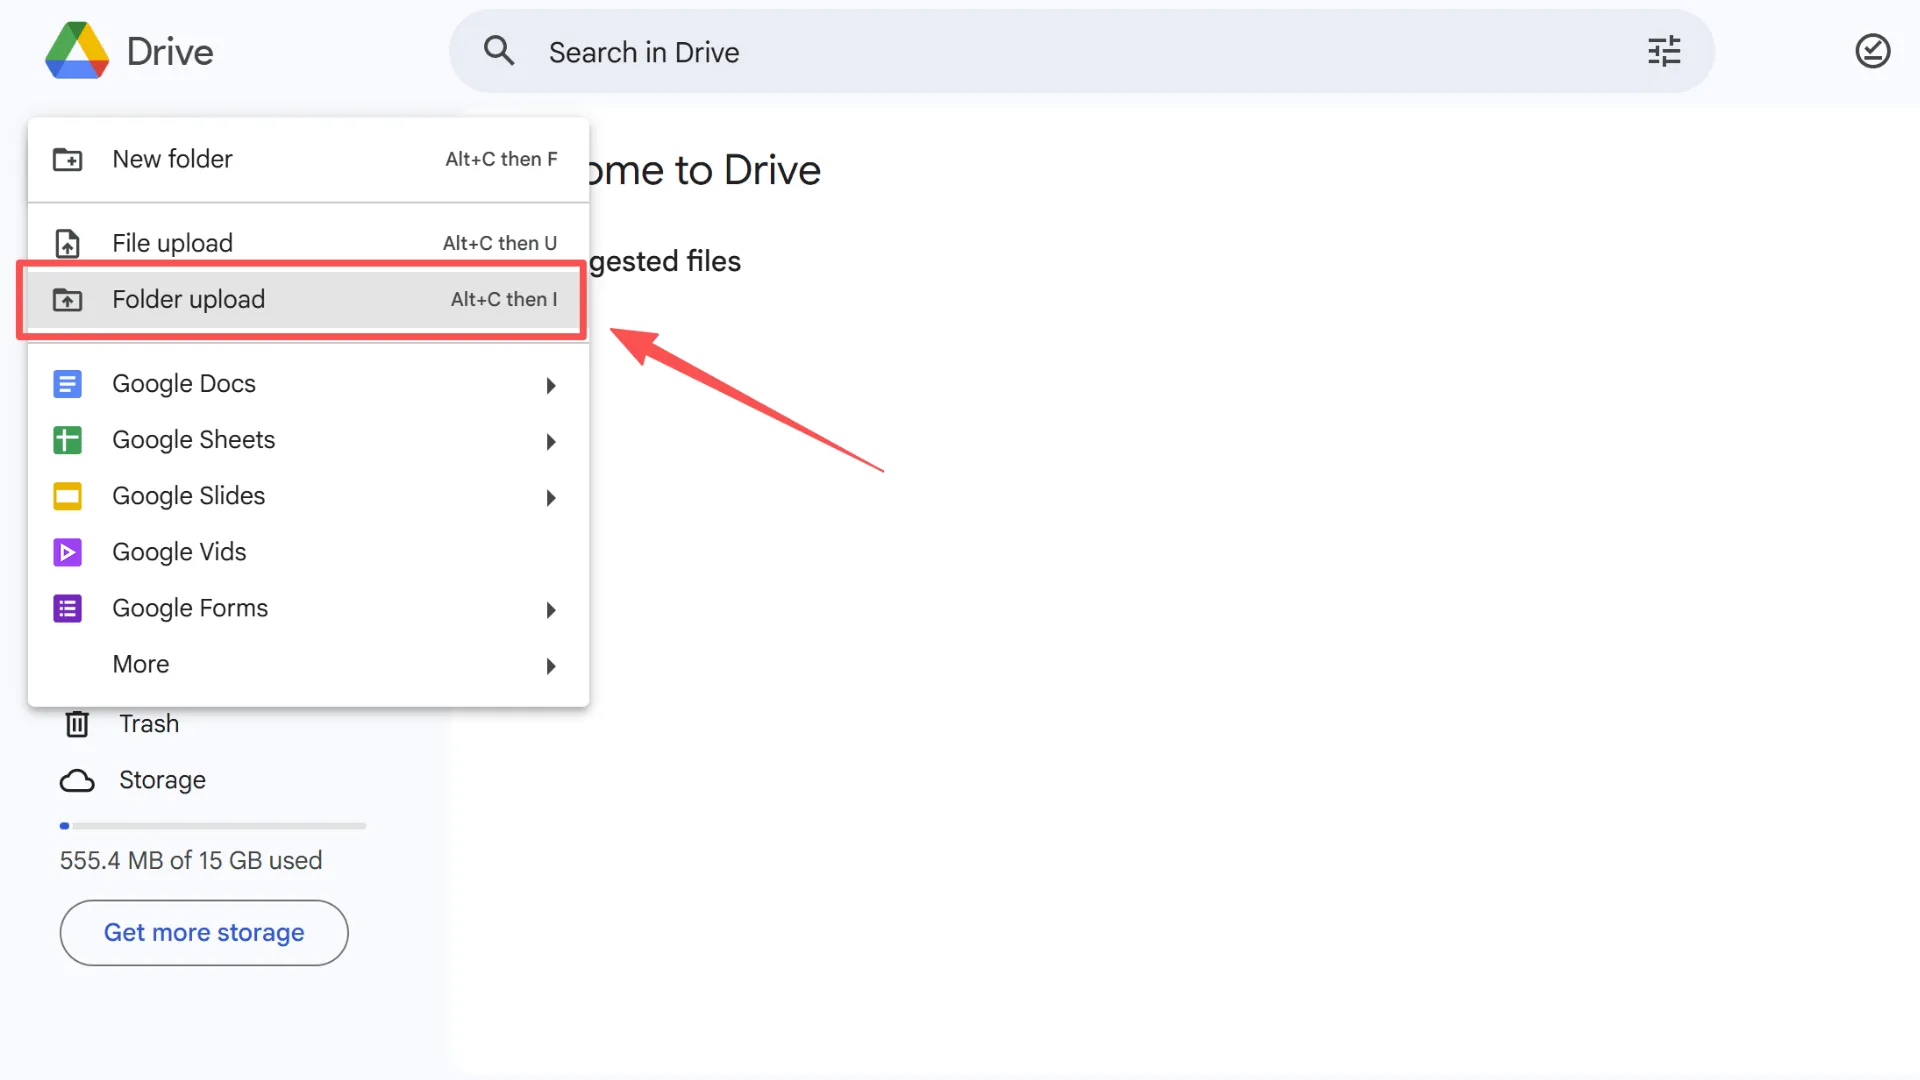
Step 2: Upload the WMF to Google Drive
Here's how to get your WMF into Google Drive:
1. Open Google Drive.
2. Click “New” → “File Upload” and select your WMF file.
3. Organize files into folders and use clear, descriptive names so you can find them easily later.
Tip: Make sure the file permissions are correct to avoid editing problems in Slides.
Step 3: Open the WMF in Google Drawings
Open your uploaded WMF in Google Drawings. This acts as a middle step to preserve vector quality while letting you make edits.
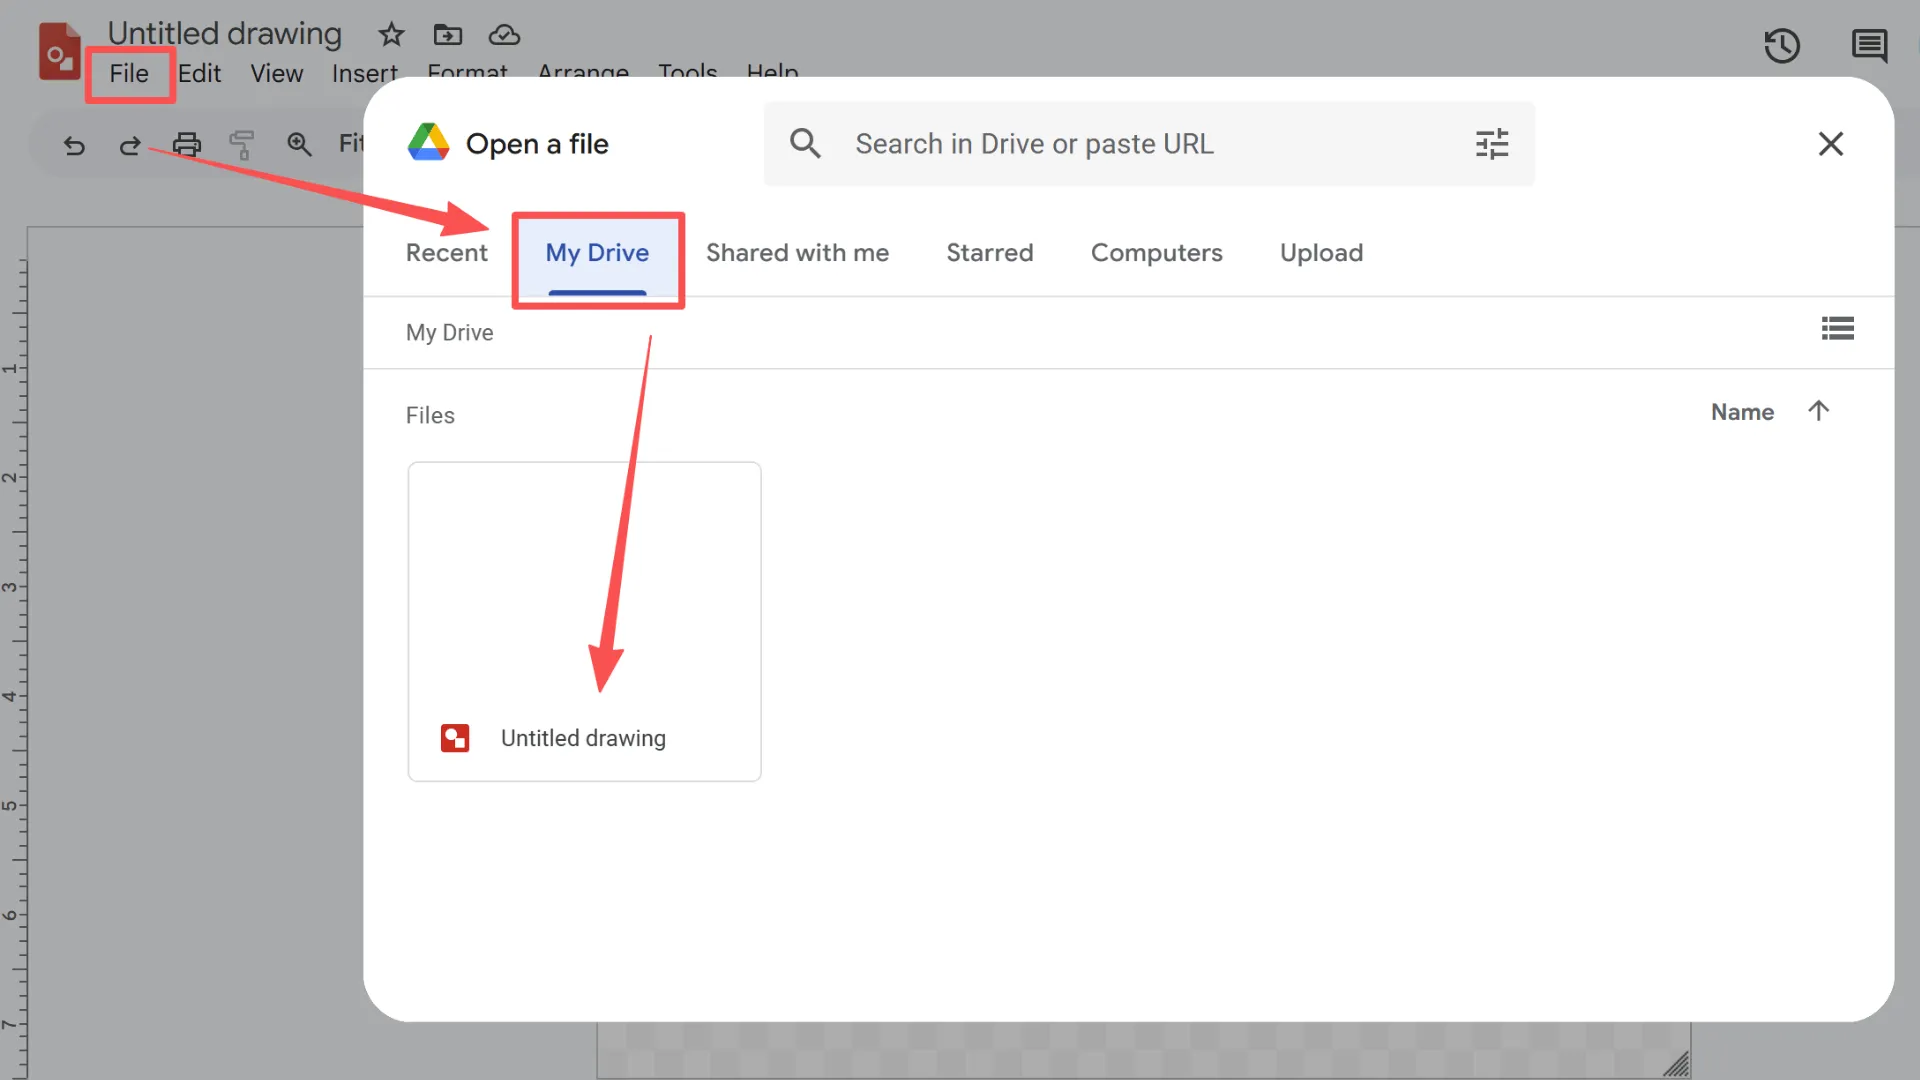
Tip: You can ungroup shapes or tweak paths for finer control.
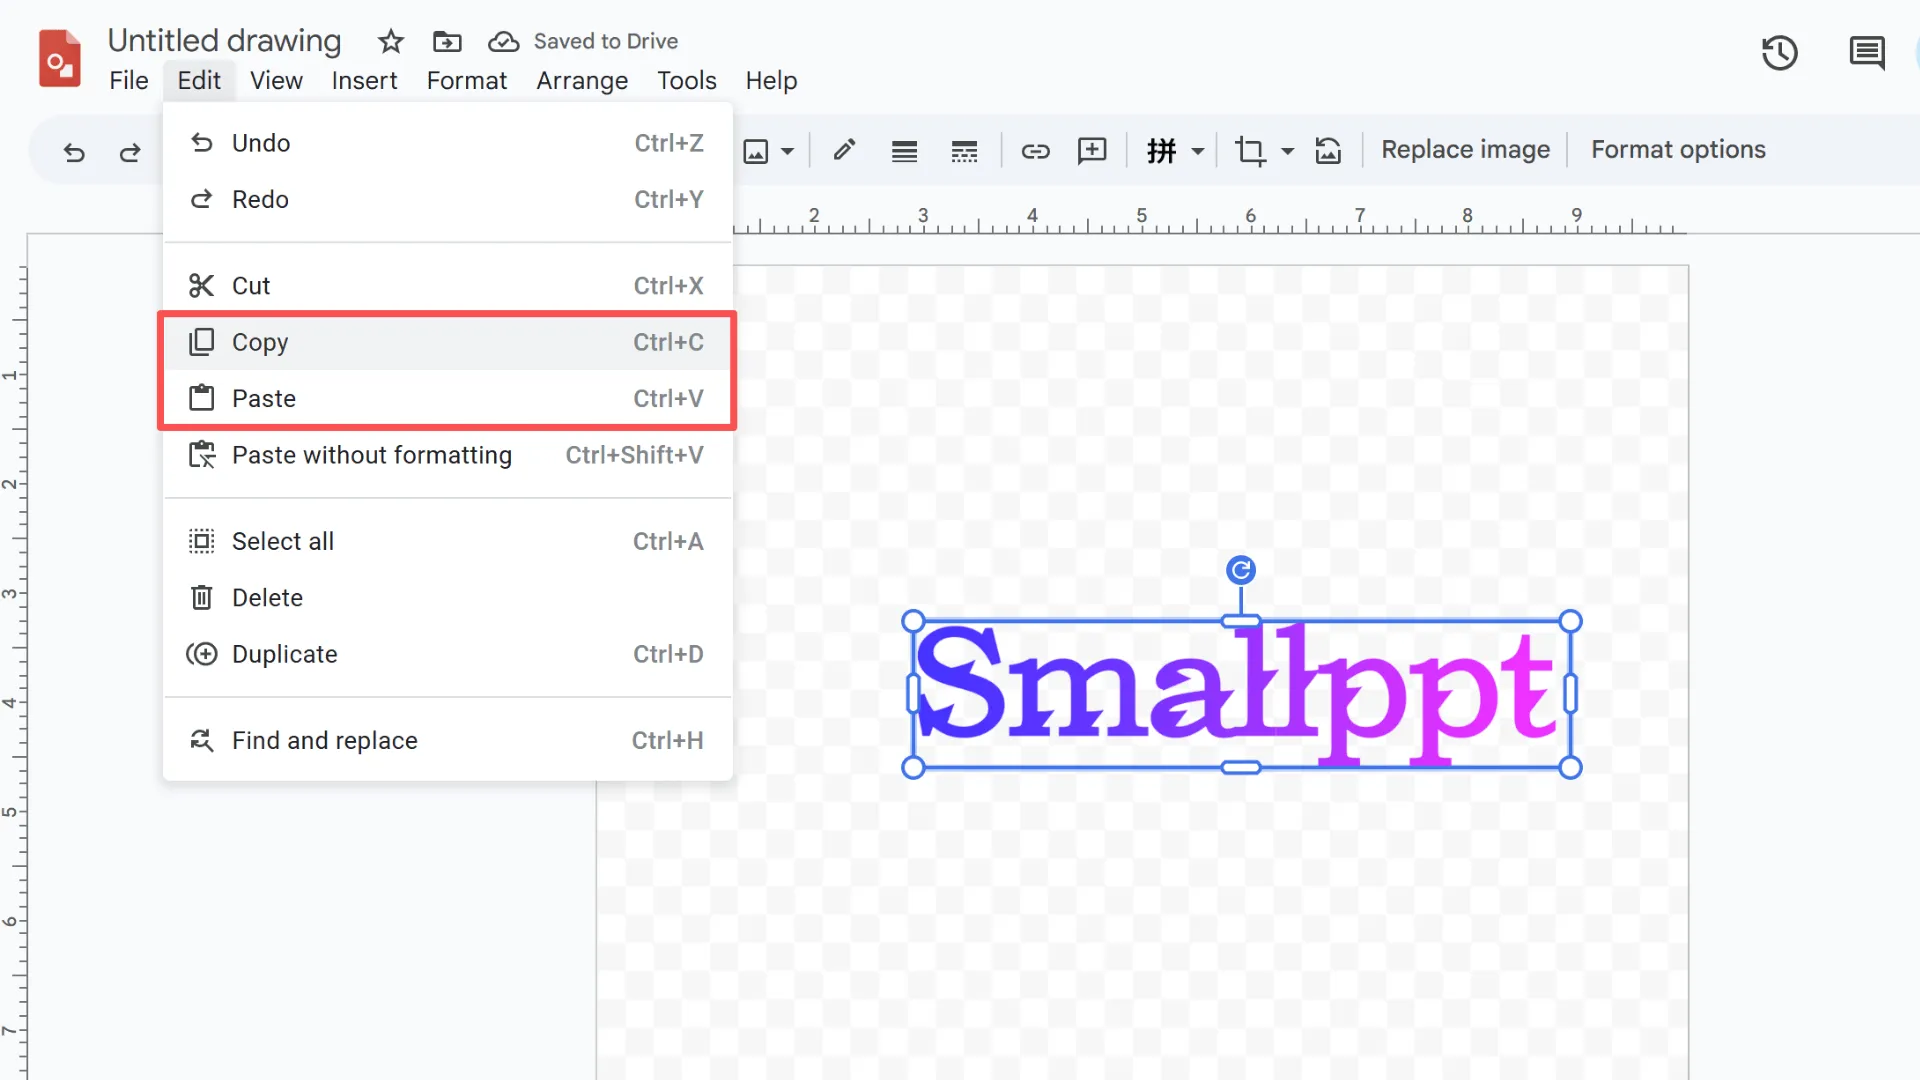
Step 4: Copy and Paste into Google Slides
To bring your vector into Slides:
1. Select your graphics.
2. Press Ctrl+C to copy, then Ctrl+V to paste into your slide.
Advantages:
- Keeps your graphics scalable and editable.
- Resize without losing quality.
Tip: Select multiple graphics to copy several SVGs at once.
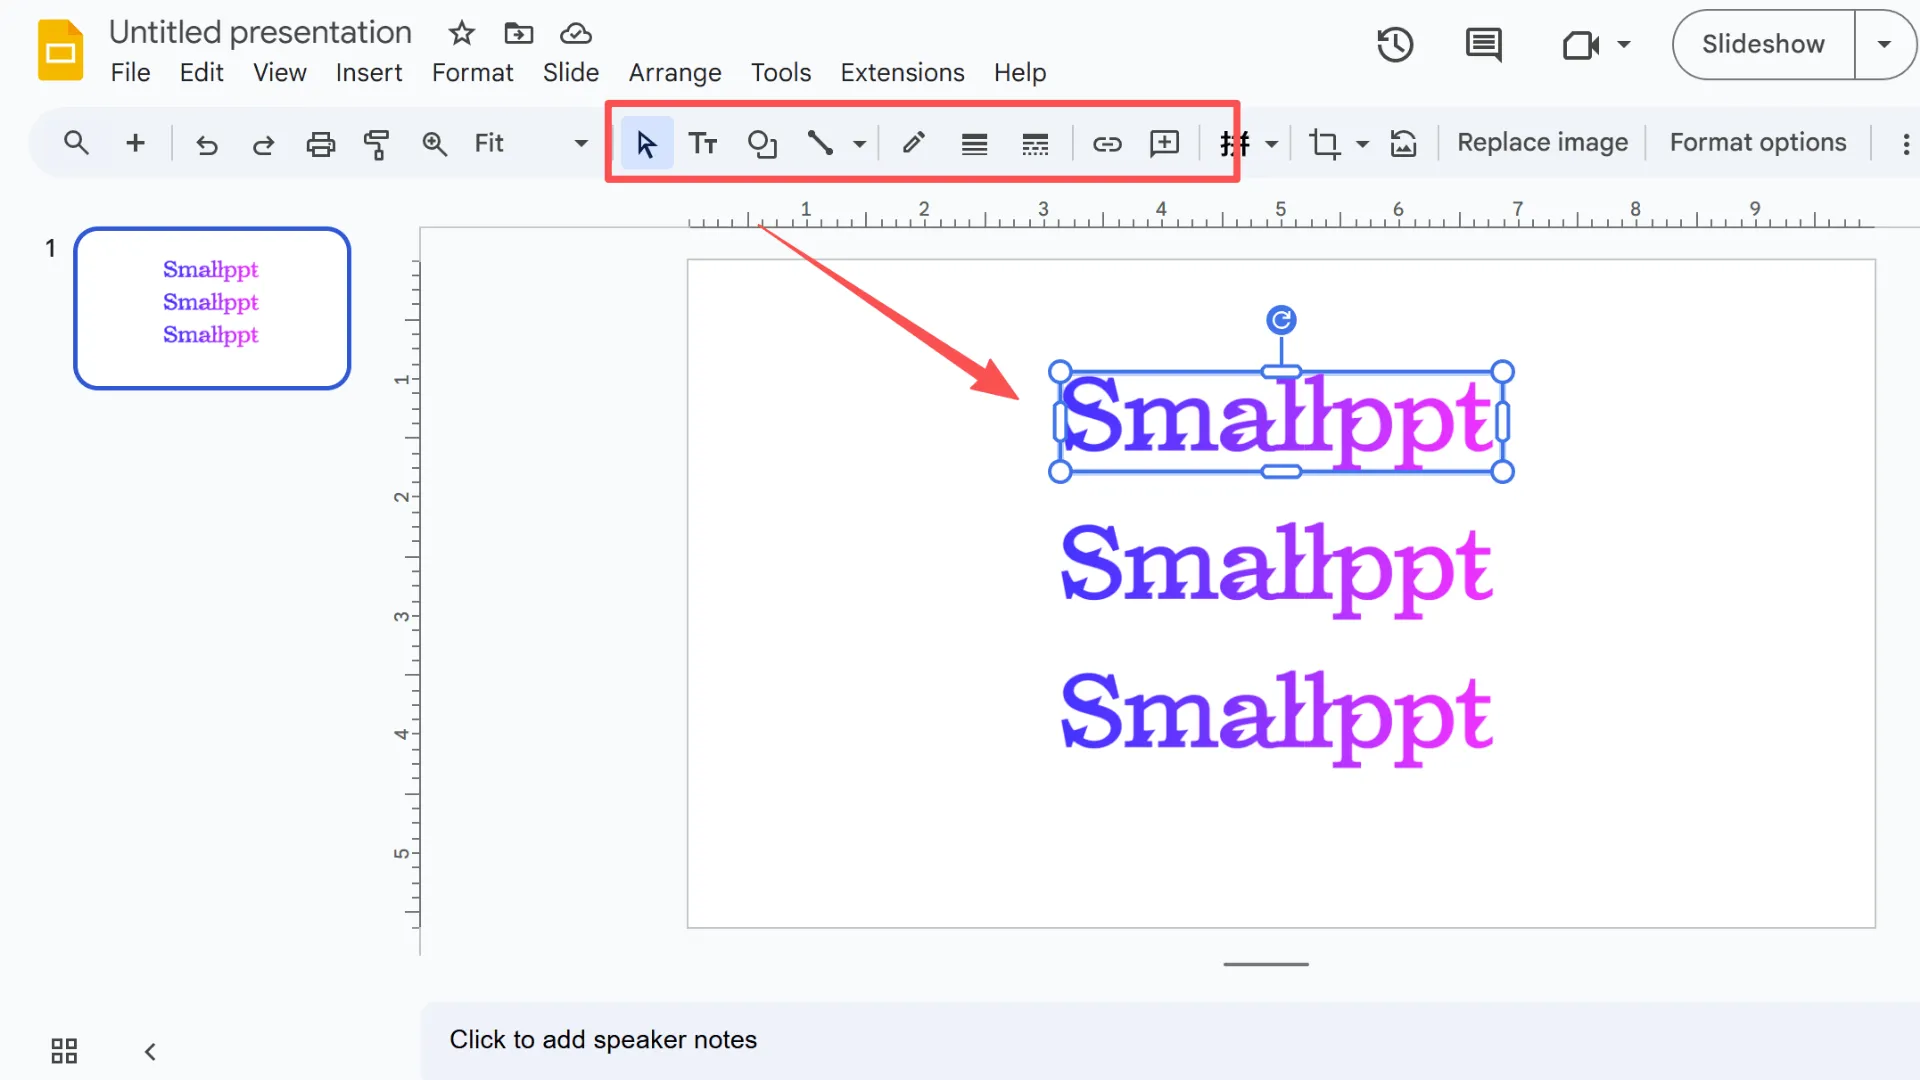
Step 5: Edit Your Vector in Google Slides
Once it's in Slides, you can:
- Change fill colors and outlines.
- Combine or ungroup shapes.
- Maintain transparency and scale freely without losing resolution.
Best practices:
- Use SVGs for logos, icons, or illustrations.
- Avoid overly complex SVGs to keep Slides running smoothly.
Following these steps, you can easily add SVGs to Google Slides while keeping them fully editable and looking sharp.
Alternative Method: Using Microsoft PowerPoint or Word
If Google Drawings feels a bit clunky, you can also use Microsoft Office to get SVGs into Google Slides. Both PowerPoint and Word handle vector graphics really well.
Here's how I usually do it:
1. Import the SVG into PowerPoint.
2. Convert it to a shape to keep it fully editable.
3. Save the slide or document.
4. Import the saved slide into Google Slides.
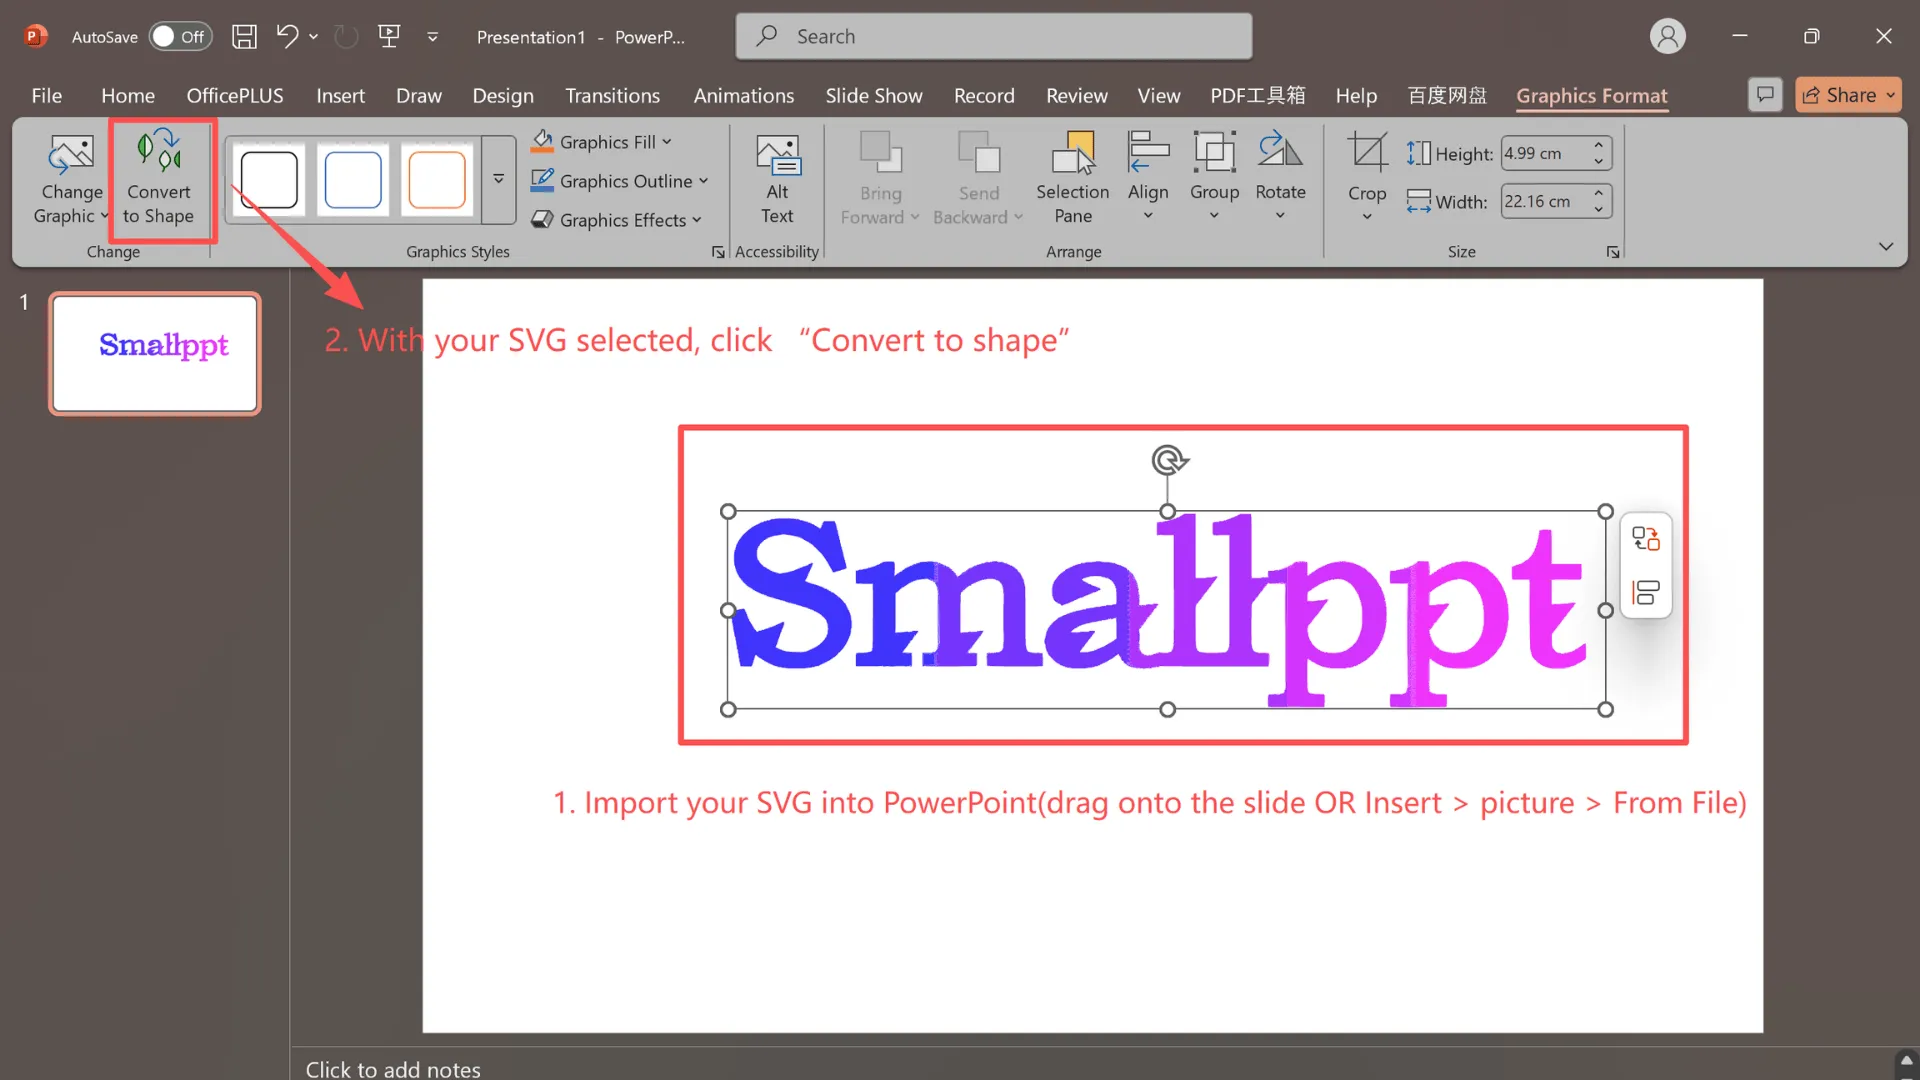
Why this works: PowerPoint preserves vectors perfectly, with almost no distortion.
Note: This method works best if you have Microsoft Office handy. If you're already comfortable with Office, it can be a faster and more stable way to add SVGs to Google Slides while keeping them fully editable.
Troubleshooting SVGs in Google Slides
Q1: Why can't I add SVGs directly to Google Slides?
Simply put, Google Slides doesn't have native support for SVGs. Since SVGs are vector graphics, Slides can't import them directly, which is why many users run into roadblocks when trying to add SVG to Google Slides.
Q2: Will converting to WMF cause detail loss?
In most cases, no. But if your SVG has very complex paths, it's worth double-checking the file after conversion just to be safe. The WMF step is mainly there to keep your graphics editable in Google Slides.
Q3: How do I resize or recolor without losing quality?
Once you paste your vector into Slides, you can scale it up or down, change colors, and adjust outlines freely. Because it stays in vector format, the image won't get blurry no matter how much you resize it.
Q4: What if I'm working with a lot of SVGs in one presentation?
For big slide decks, I recommend linking assets through Google Drive instead of pasting everything in directly. This keeps your presentation lighter and running smoothly.
By keeping these quick tips in mind, you'll be able to confidently add SVG to Google Slides while keeping everything sharp, editable, and presentation-ready.
Extra Resource: Smallppt for Smarter Presentations
While this guide focused on how to add SVG to Google Slides, you might also want an easier way to create and polish presentations in general.
That's where Smallppt comes in. On the Smallppt blog, you'll find more practical tutorials, presentation tips, and resources to help you design slides that look professional—without spending extra time juggling different tools.

